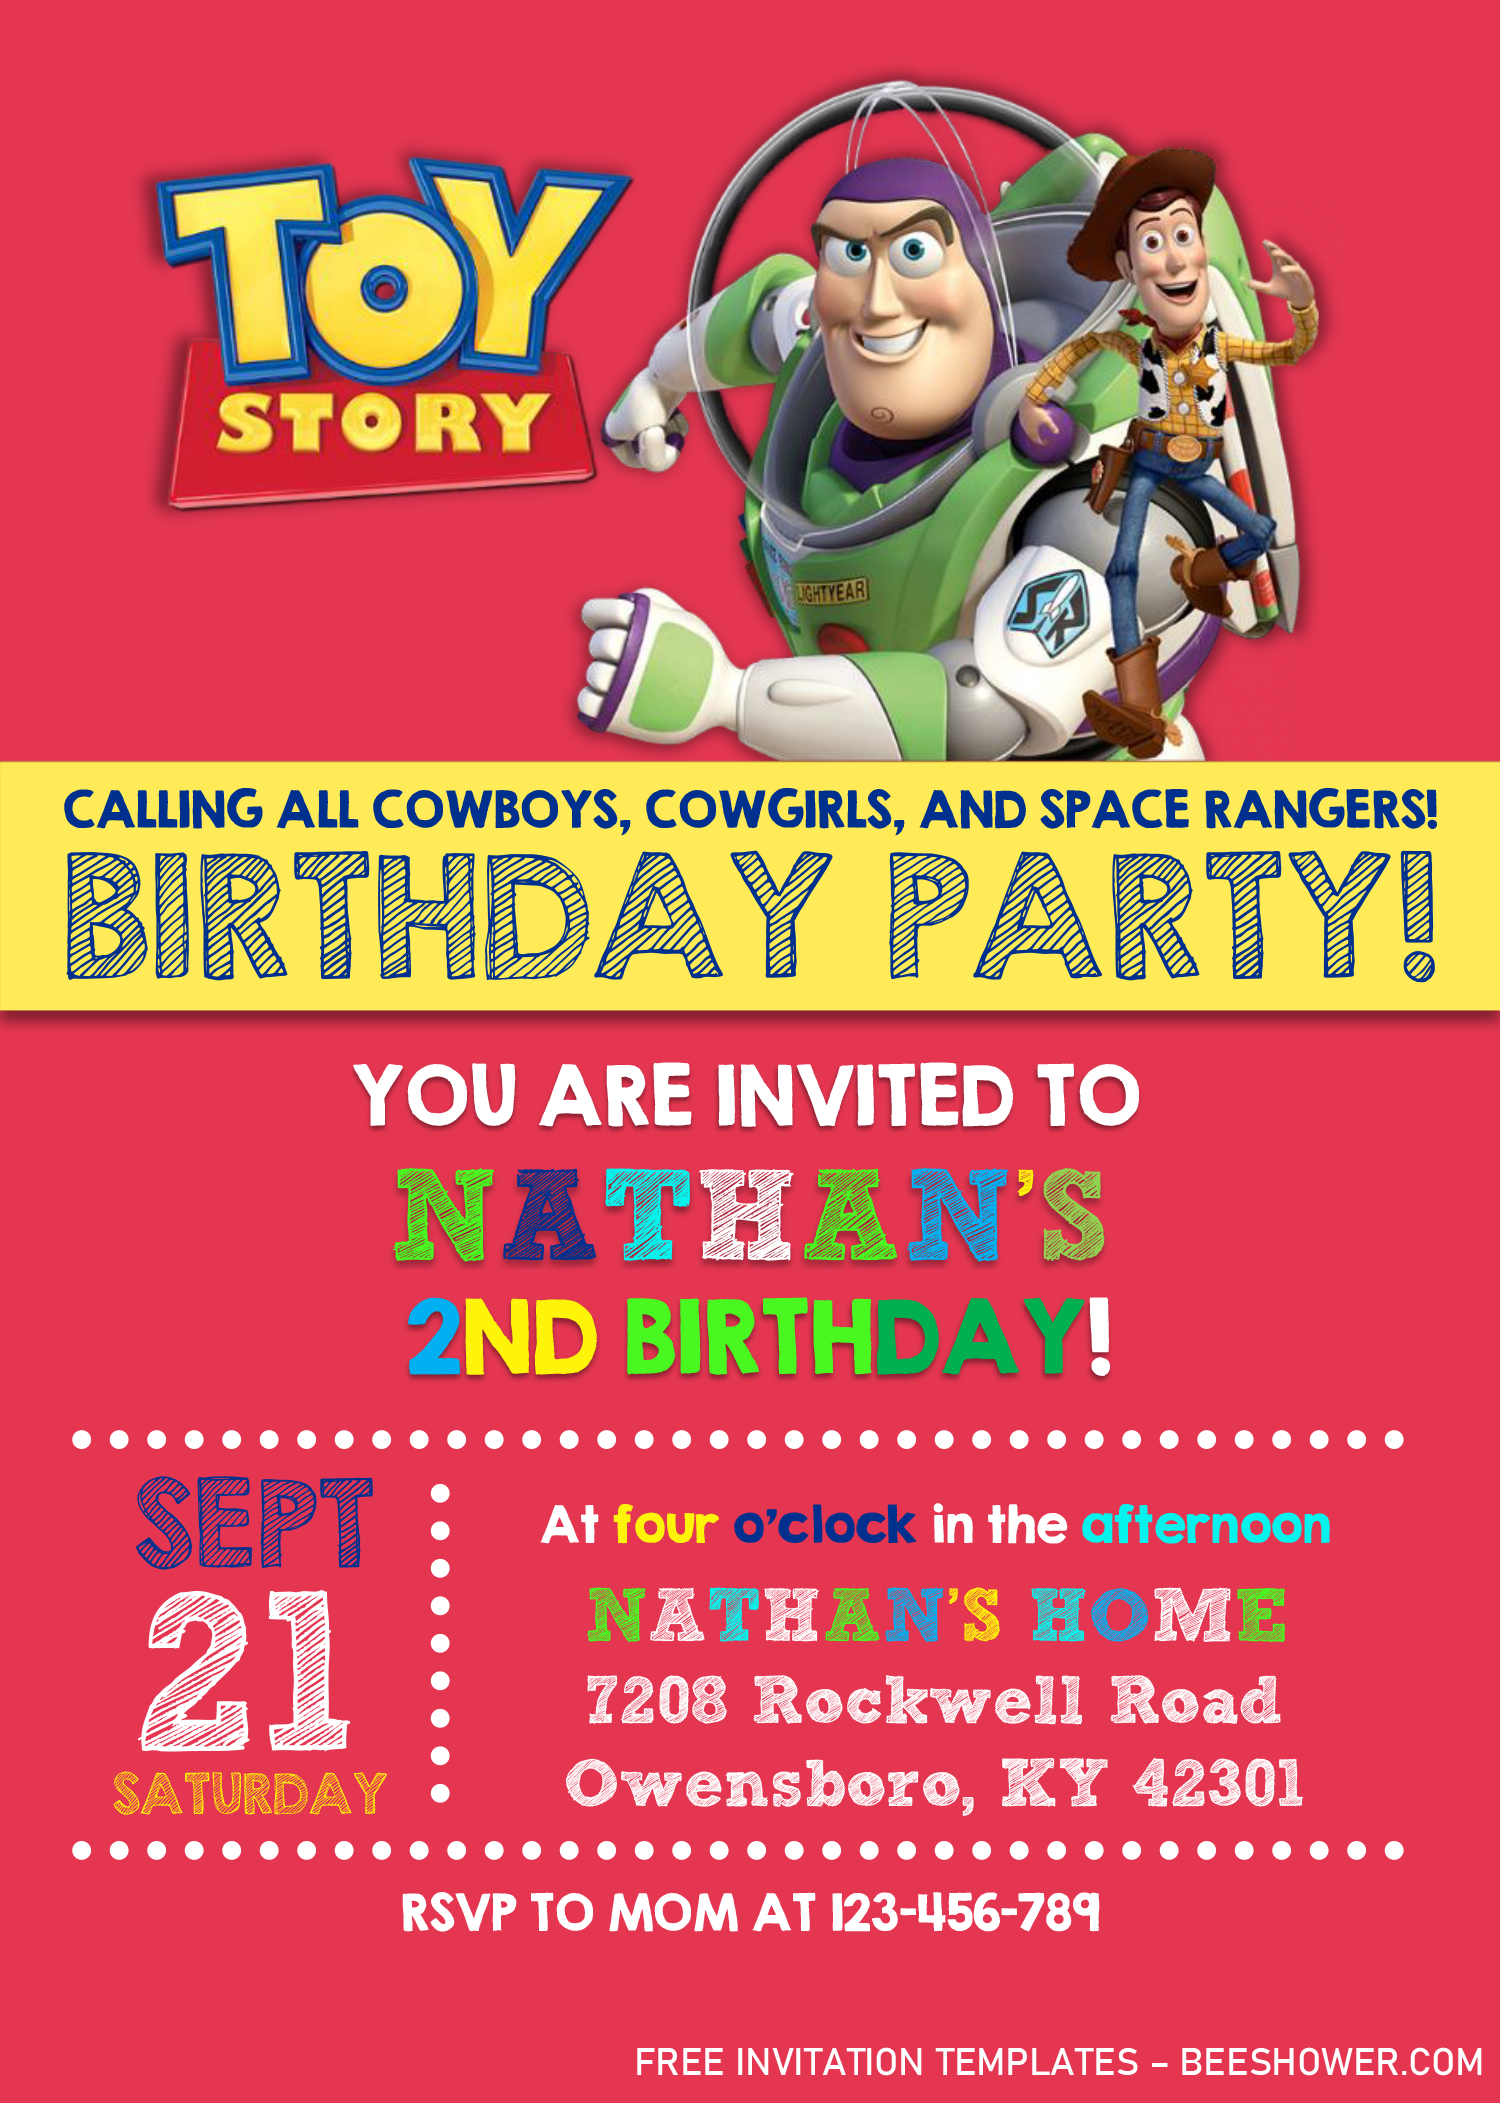
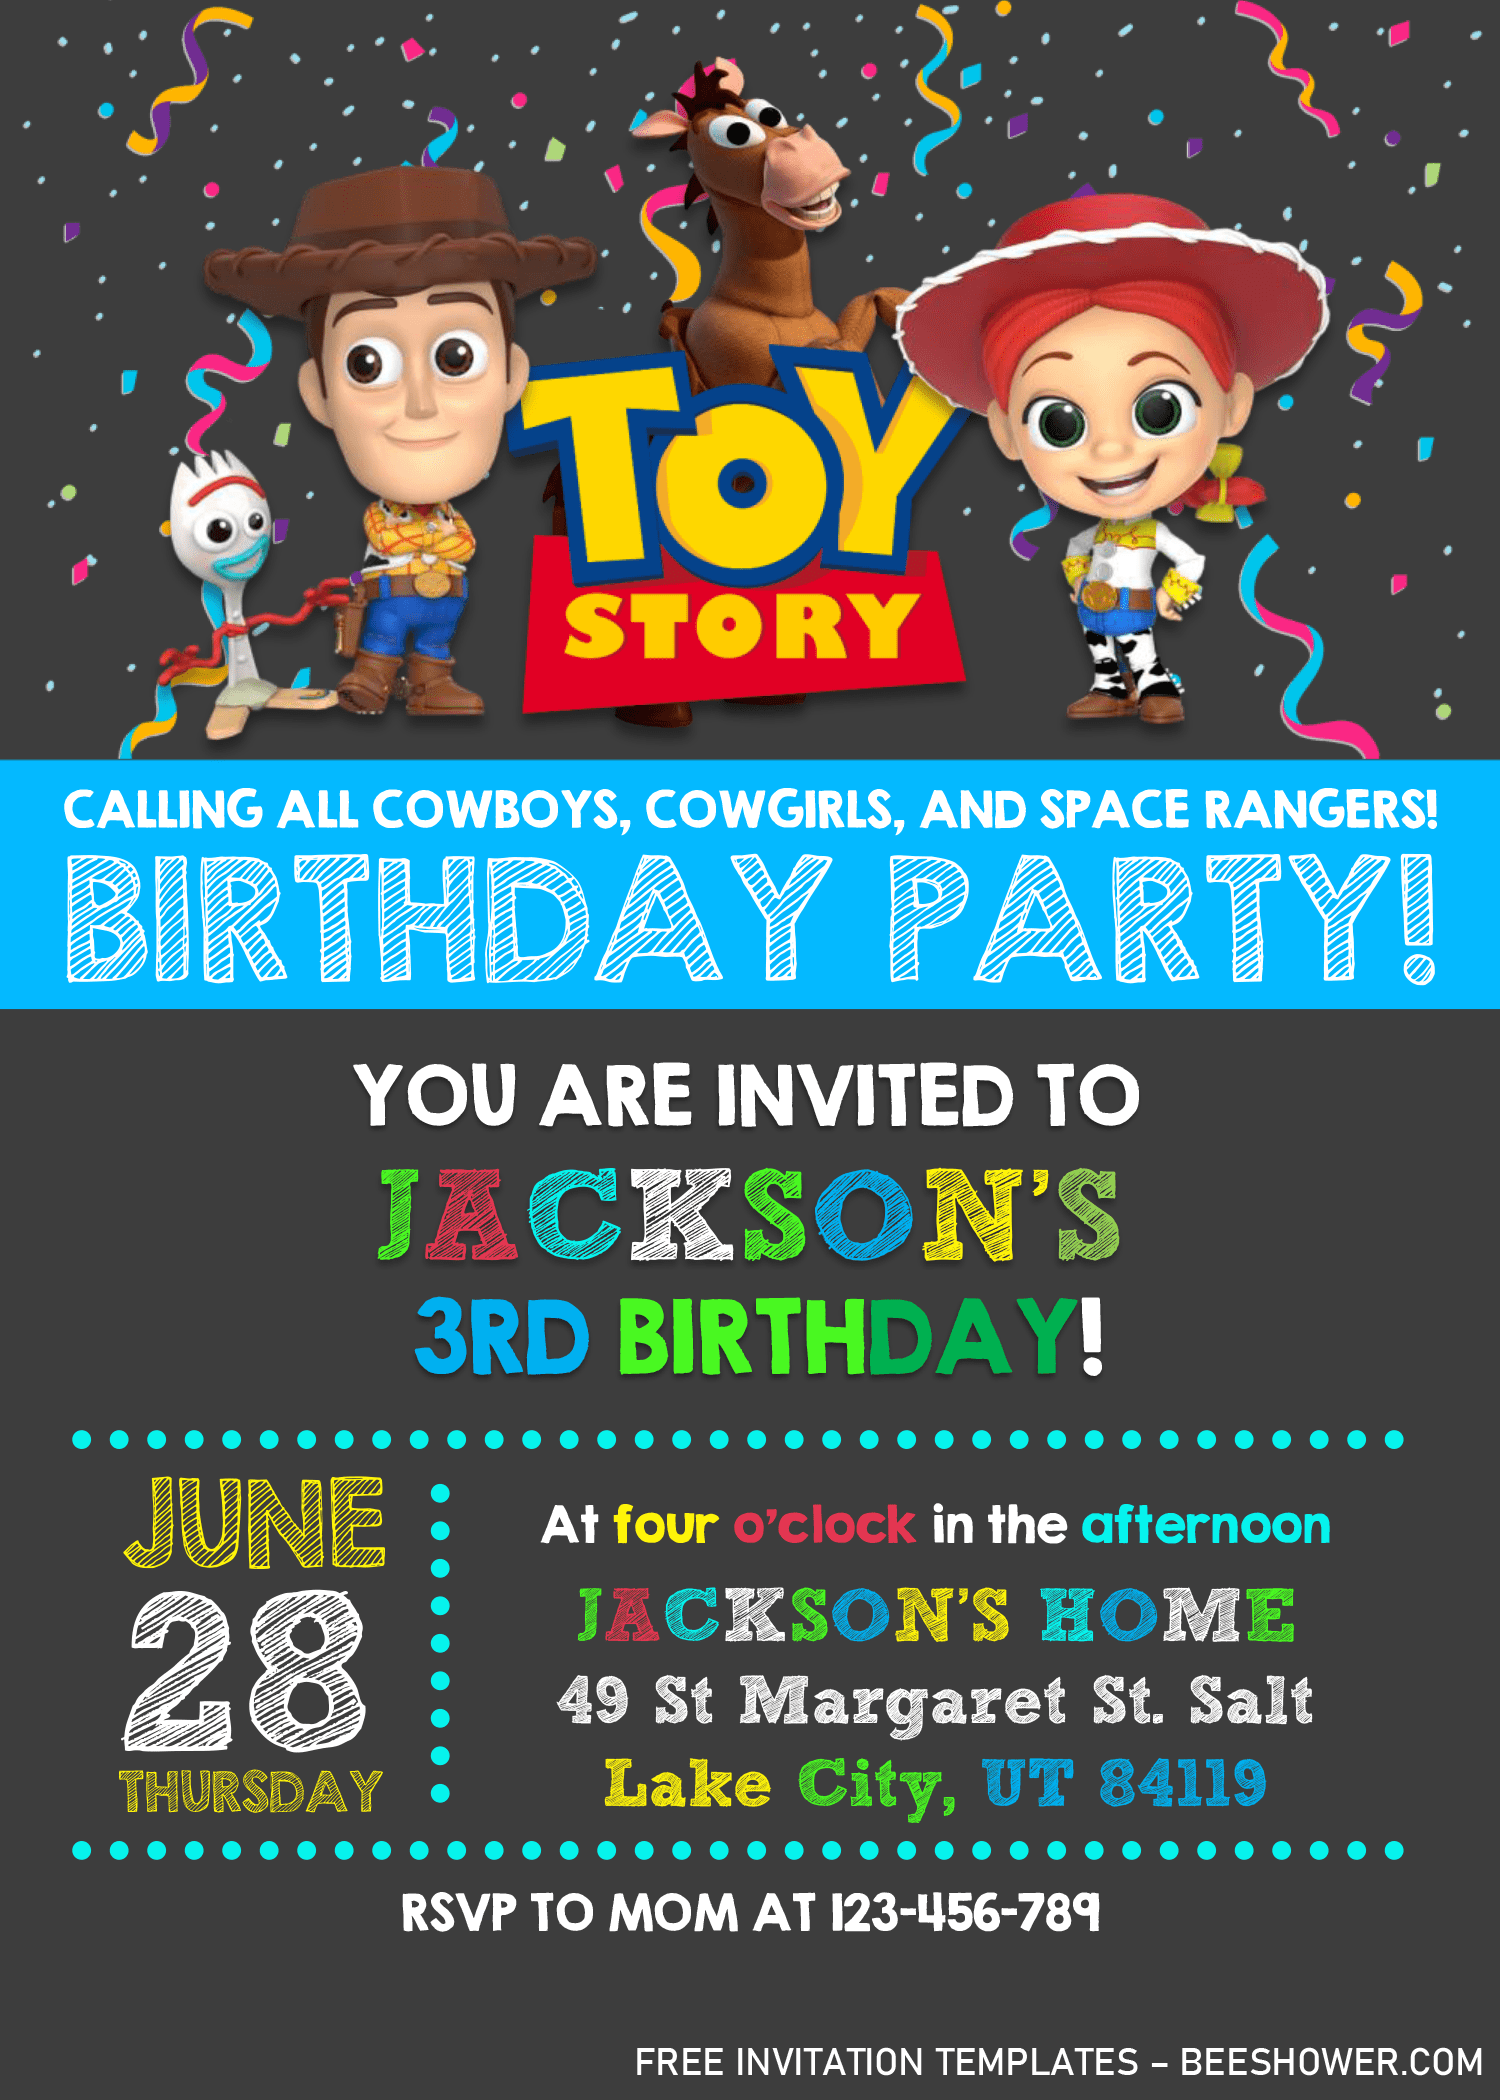
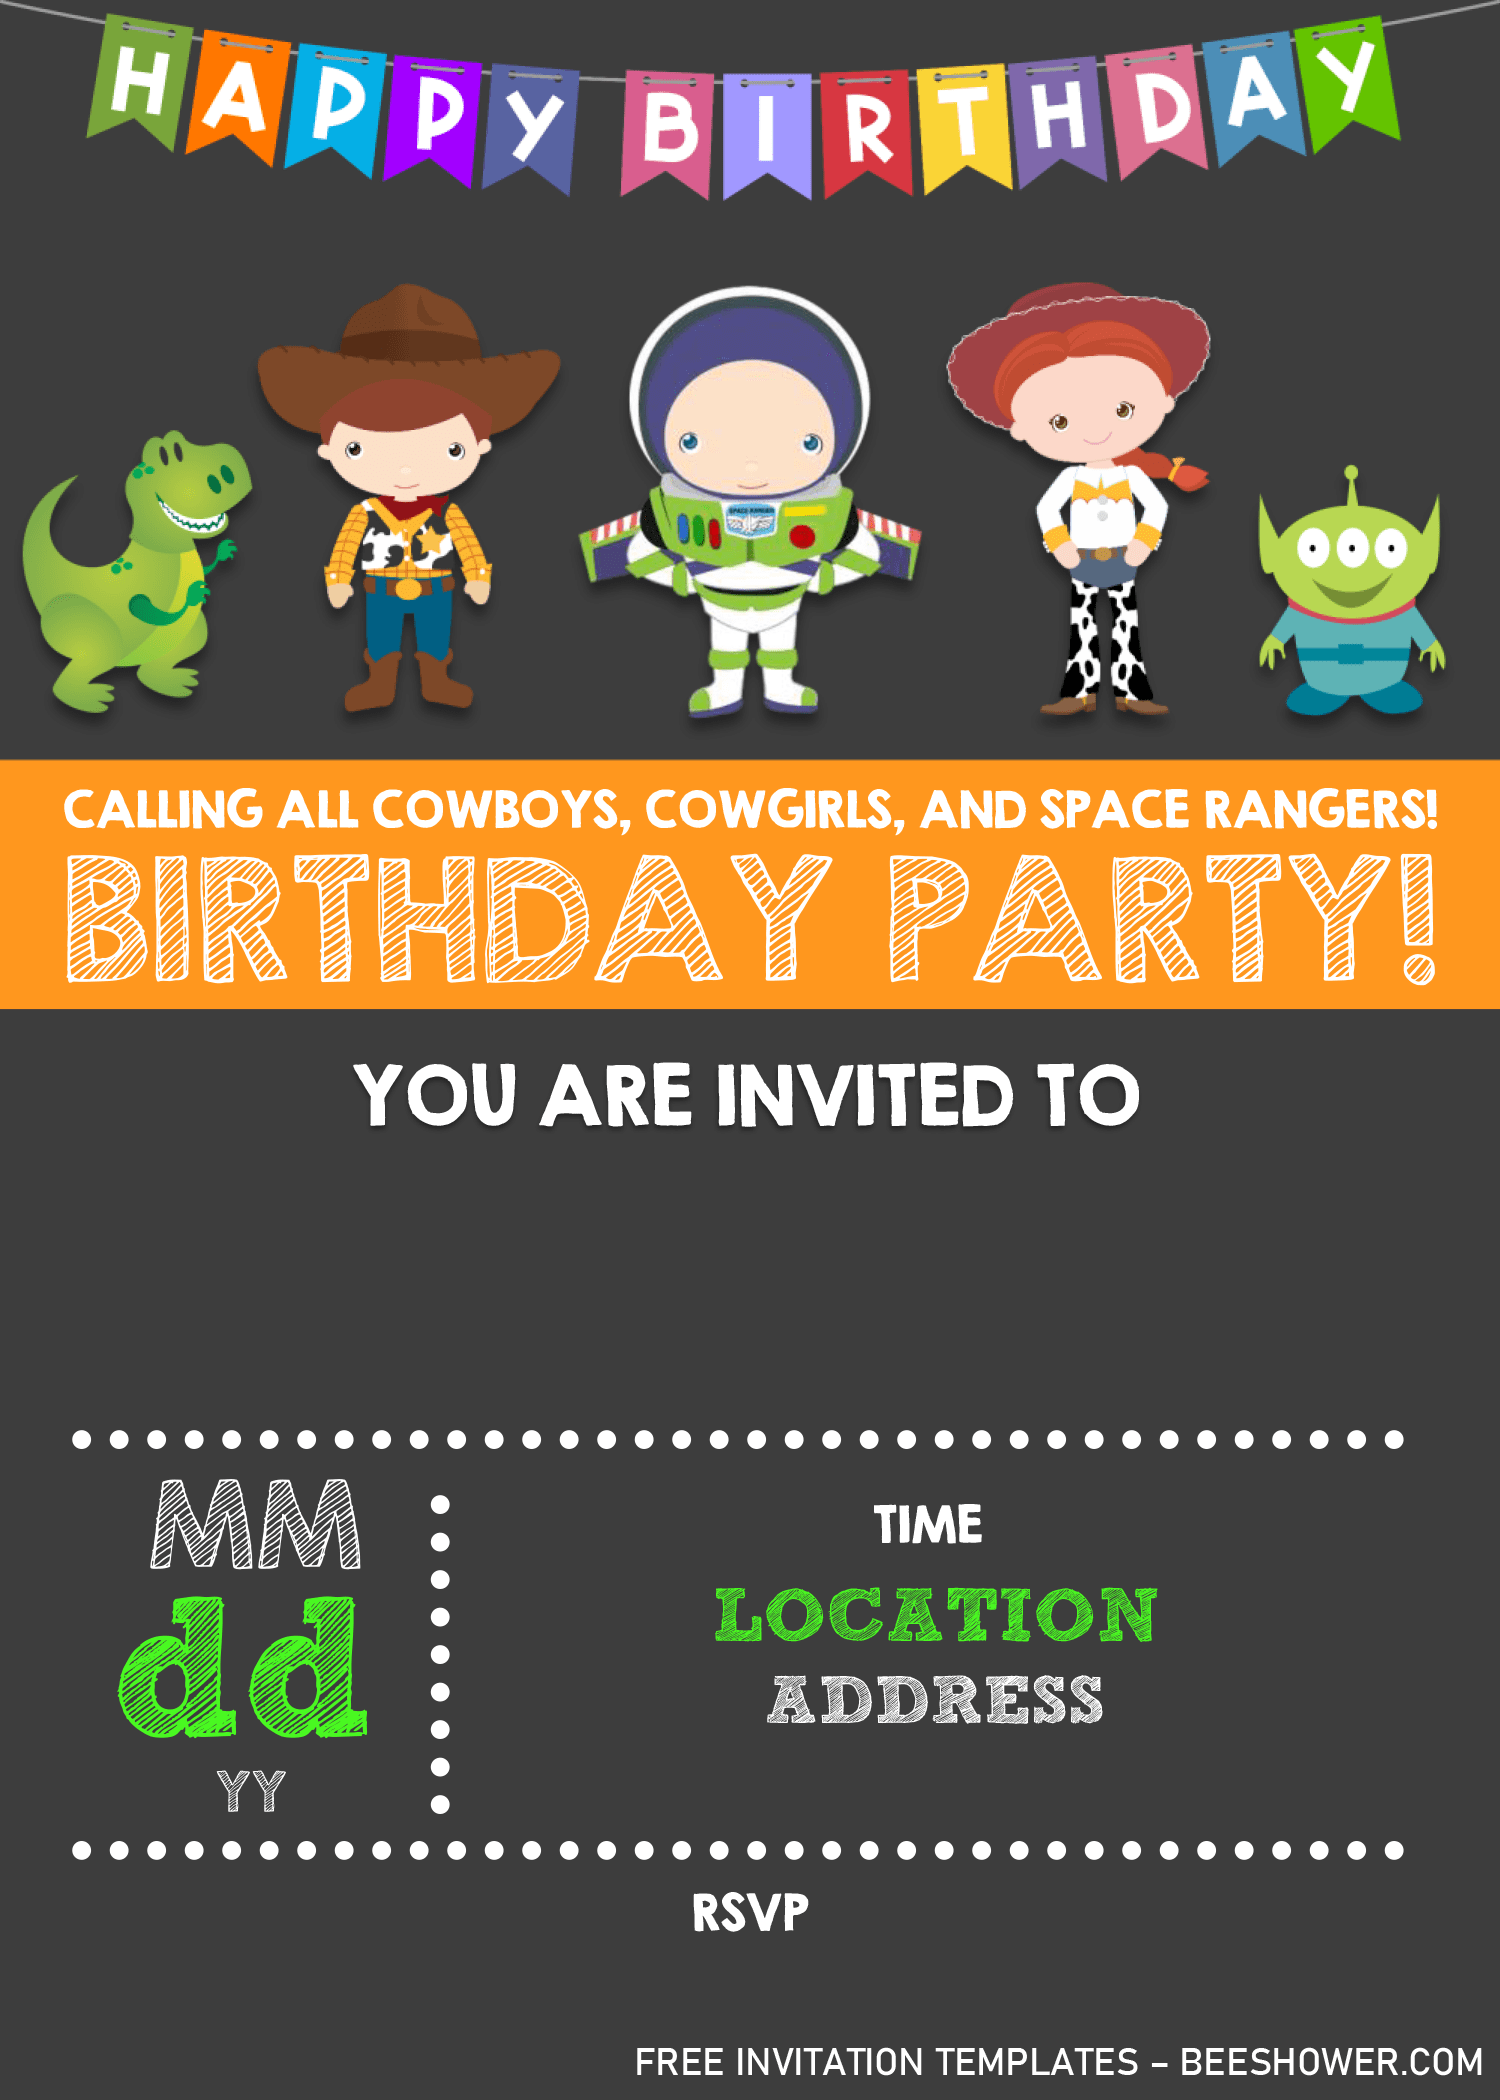
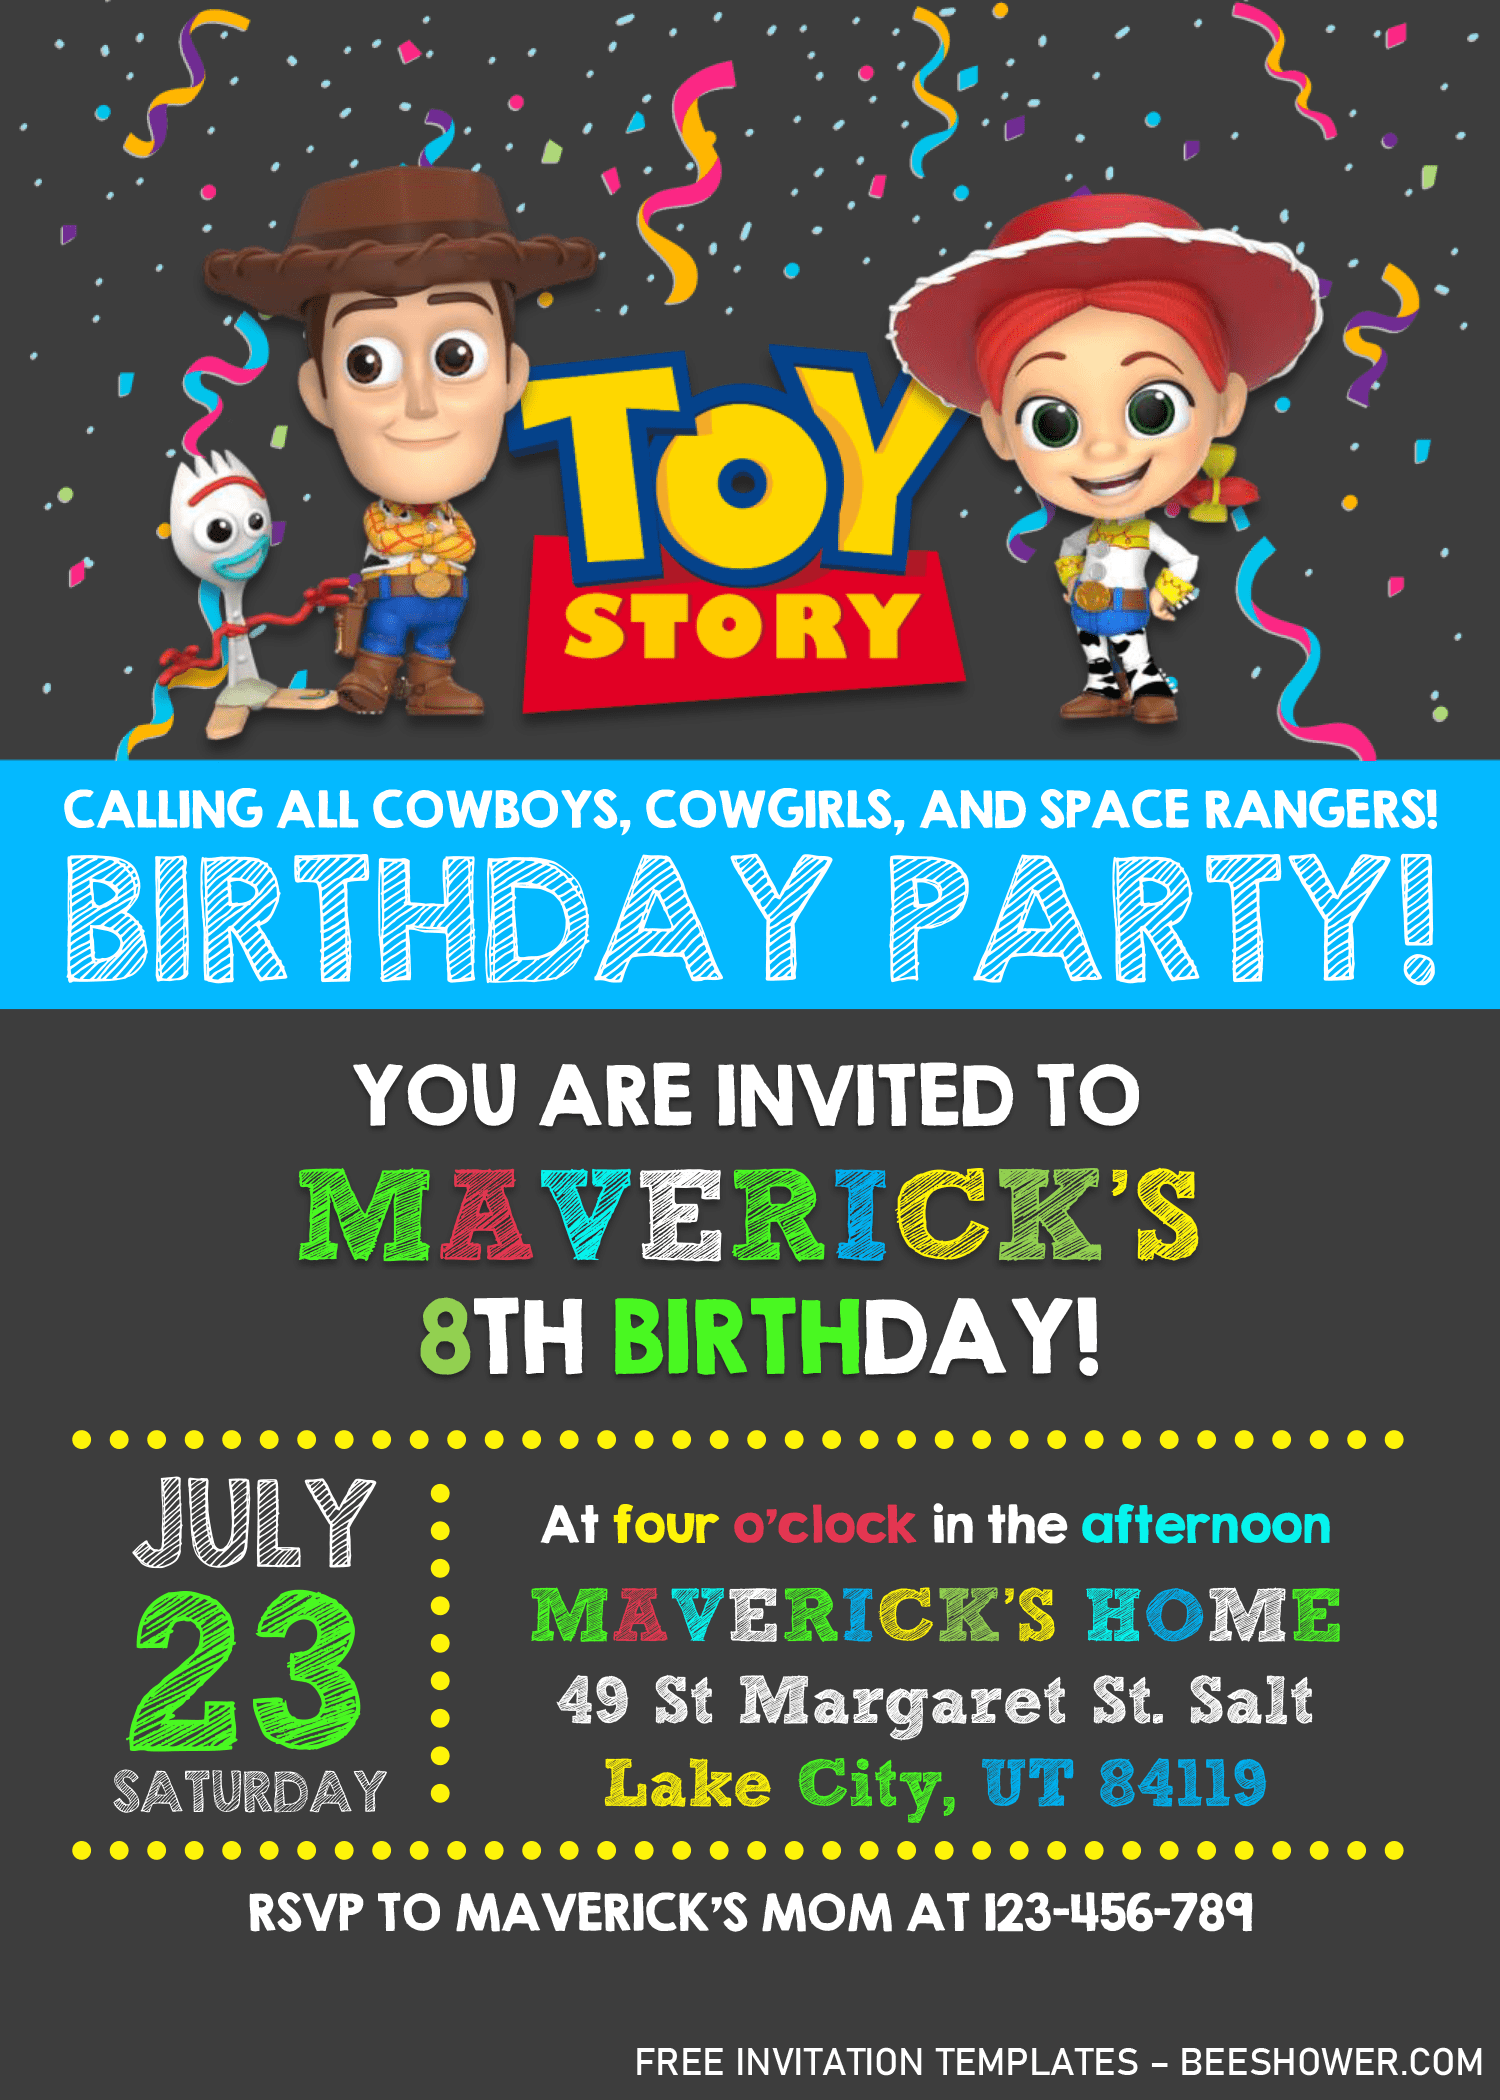
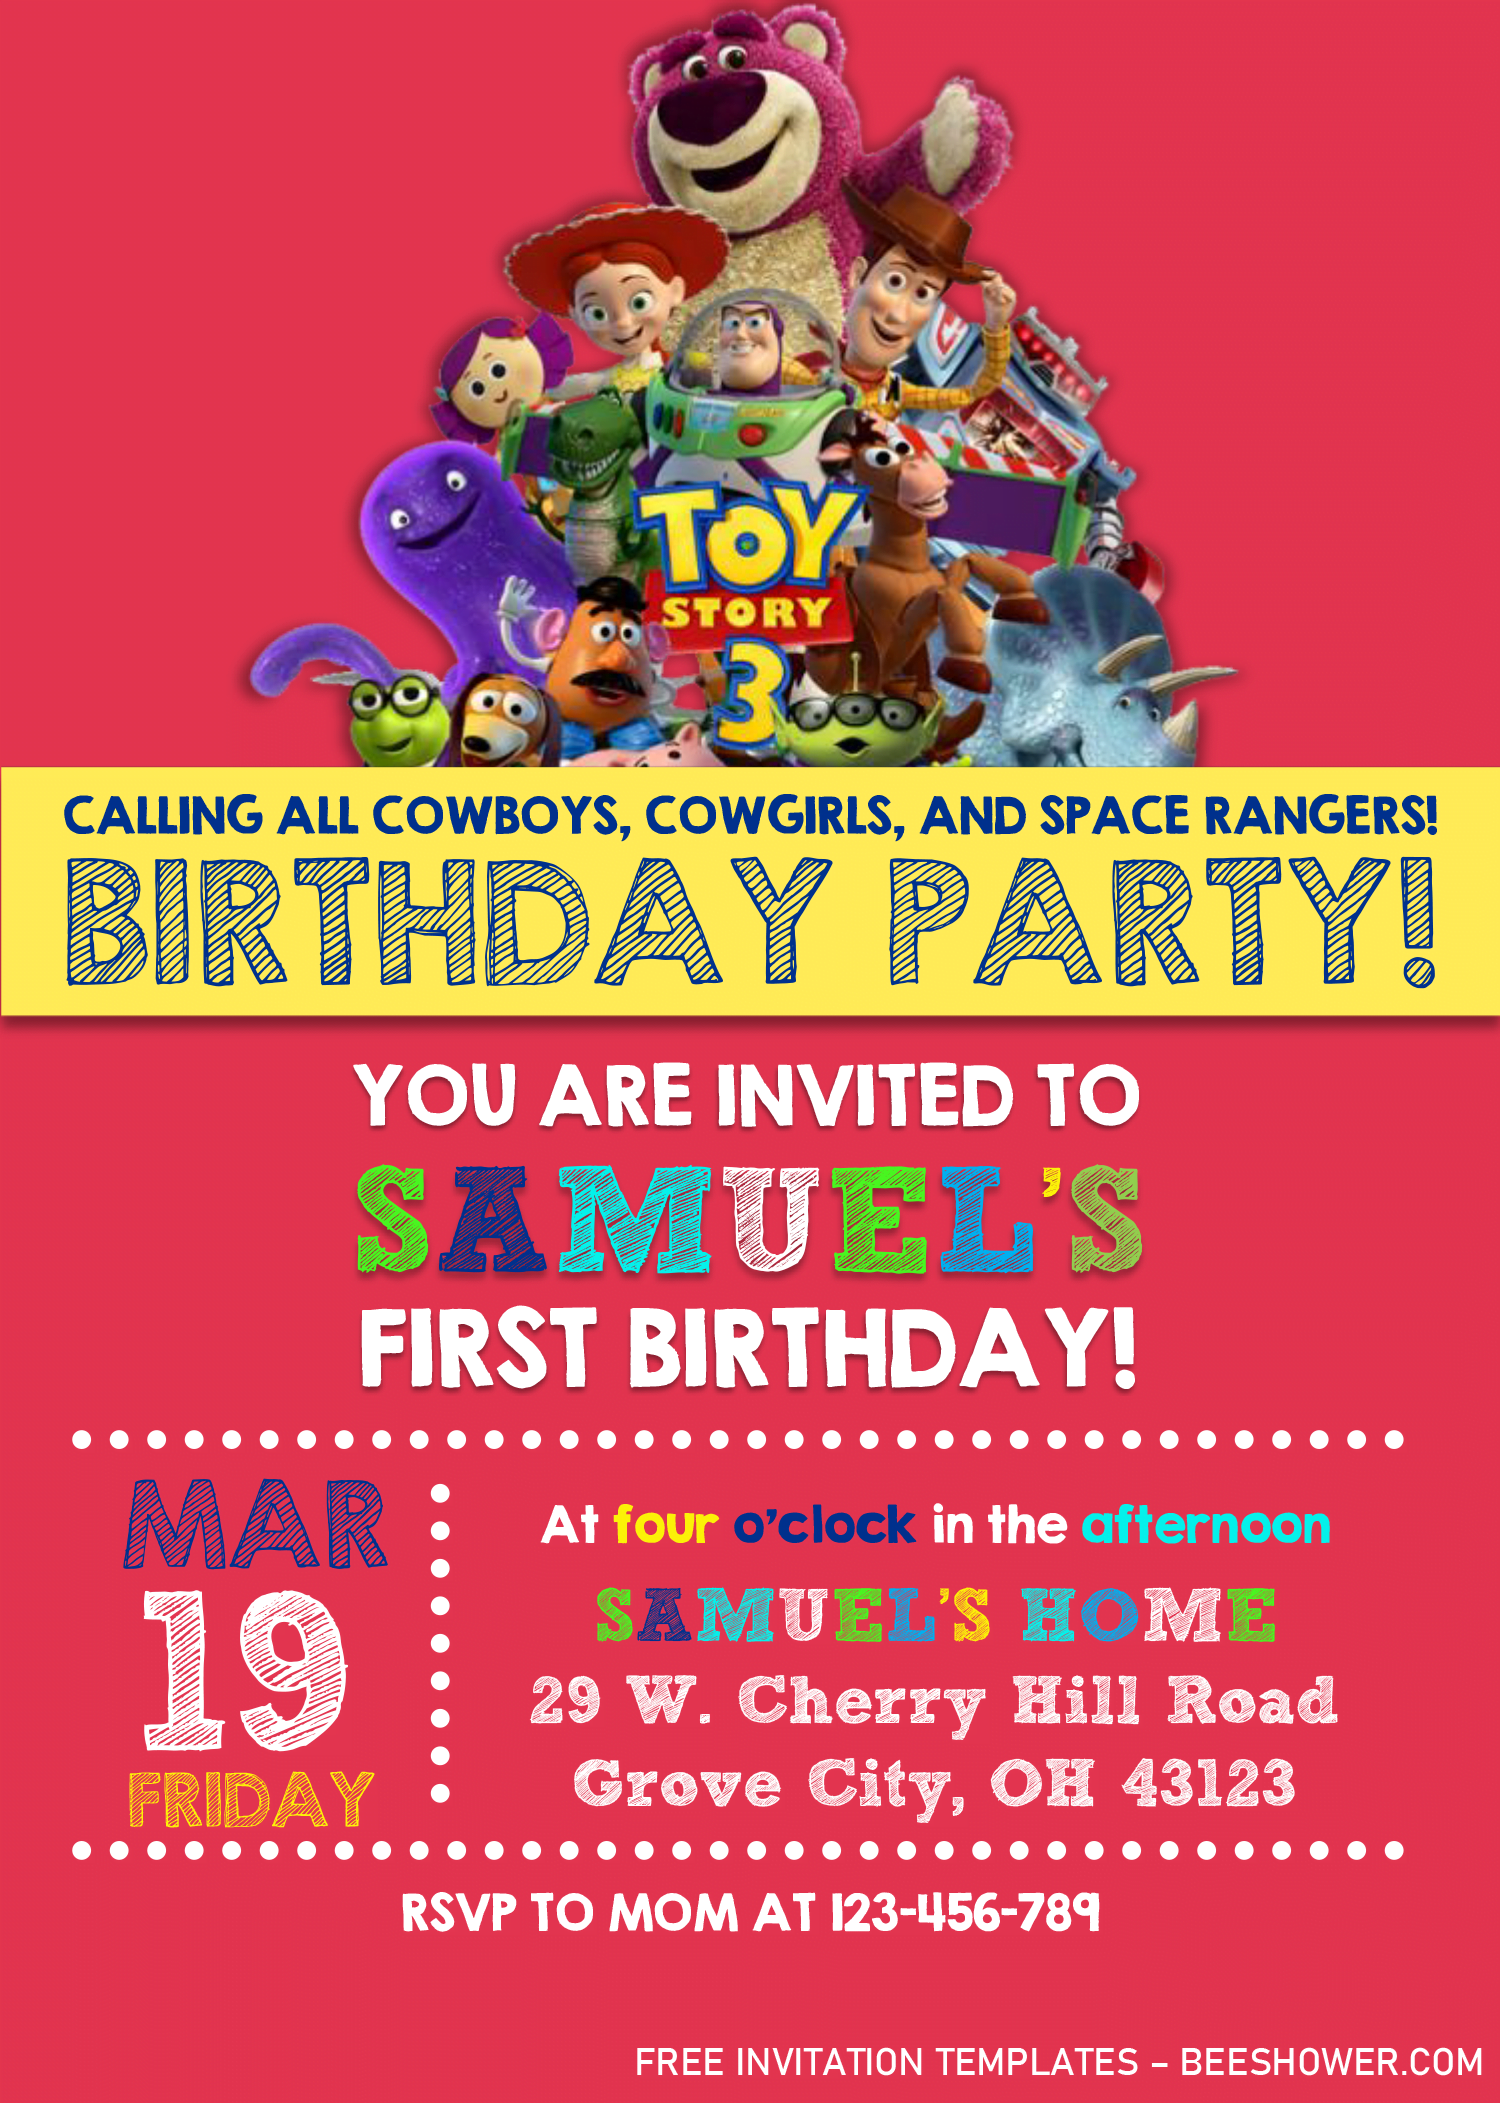
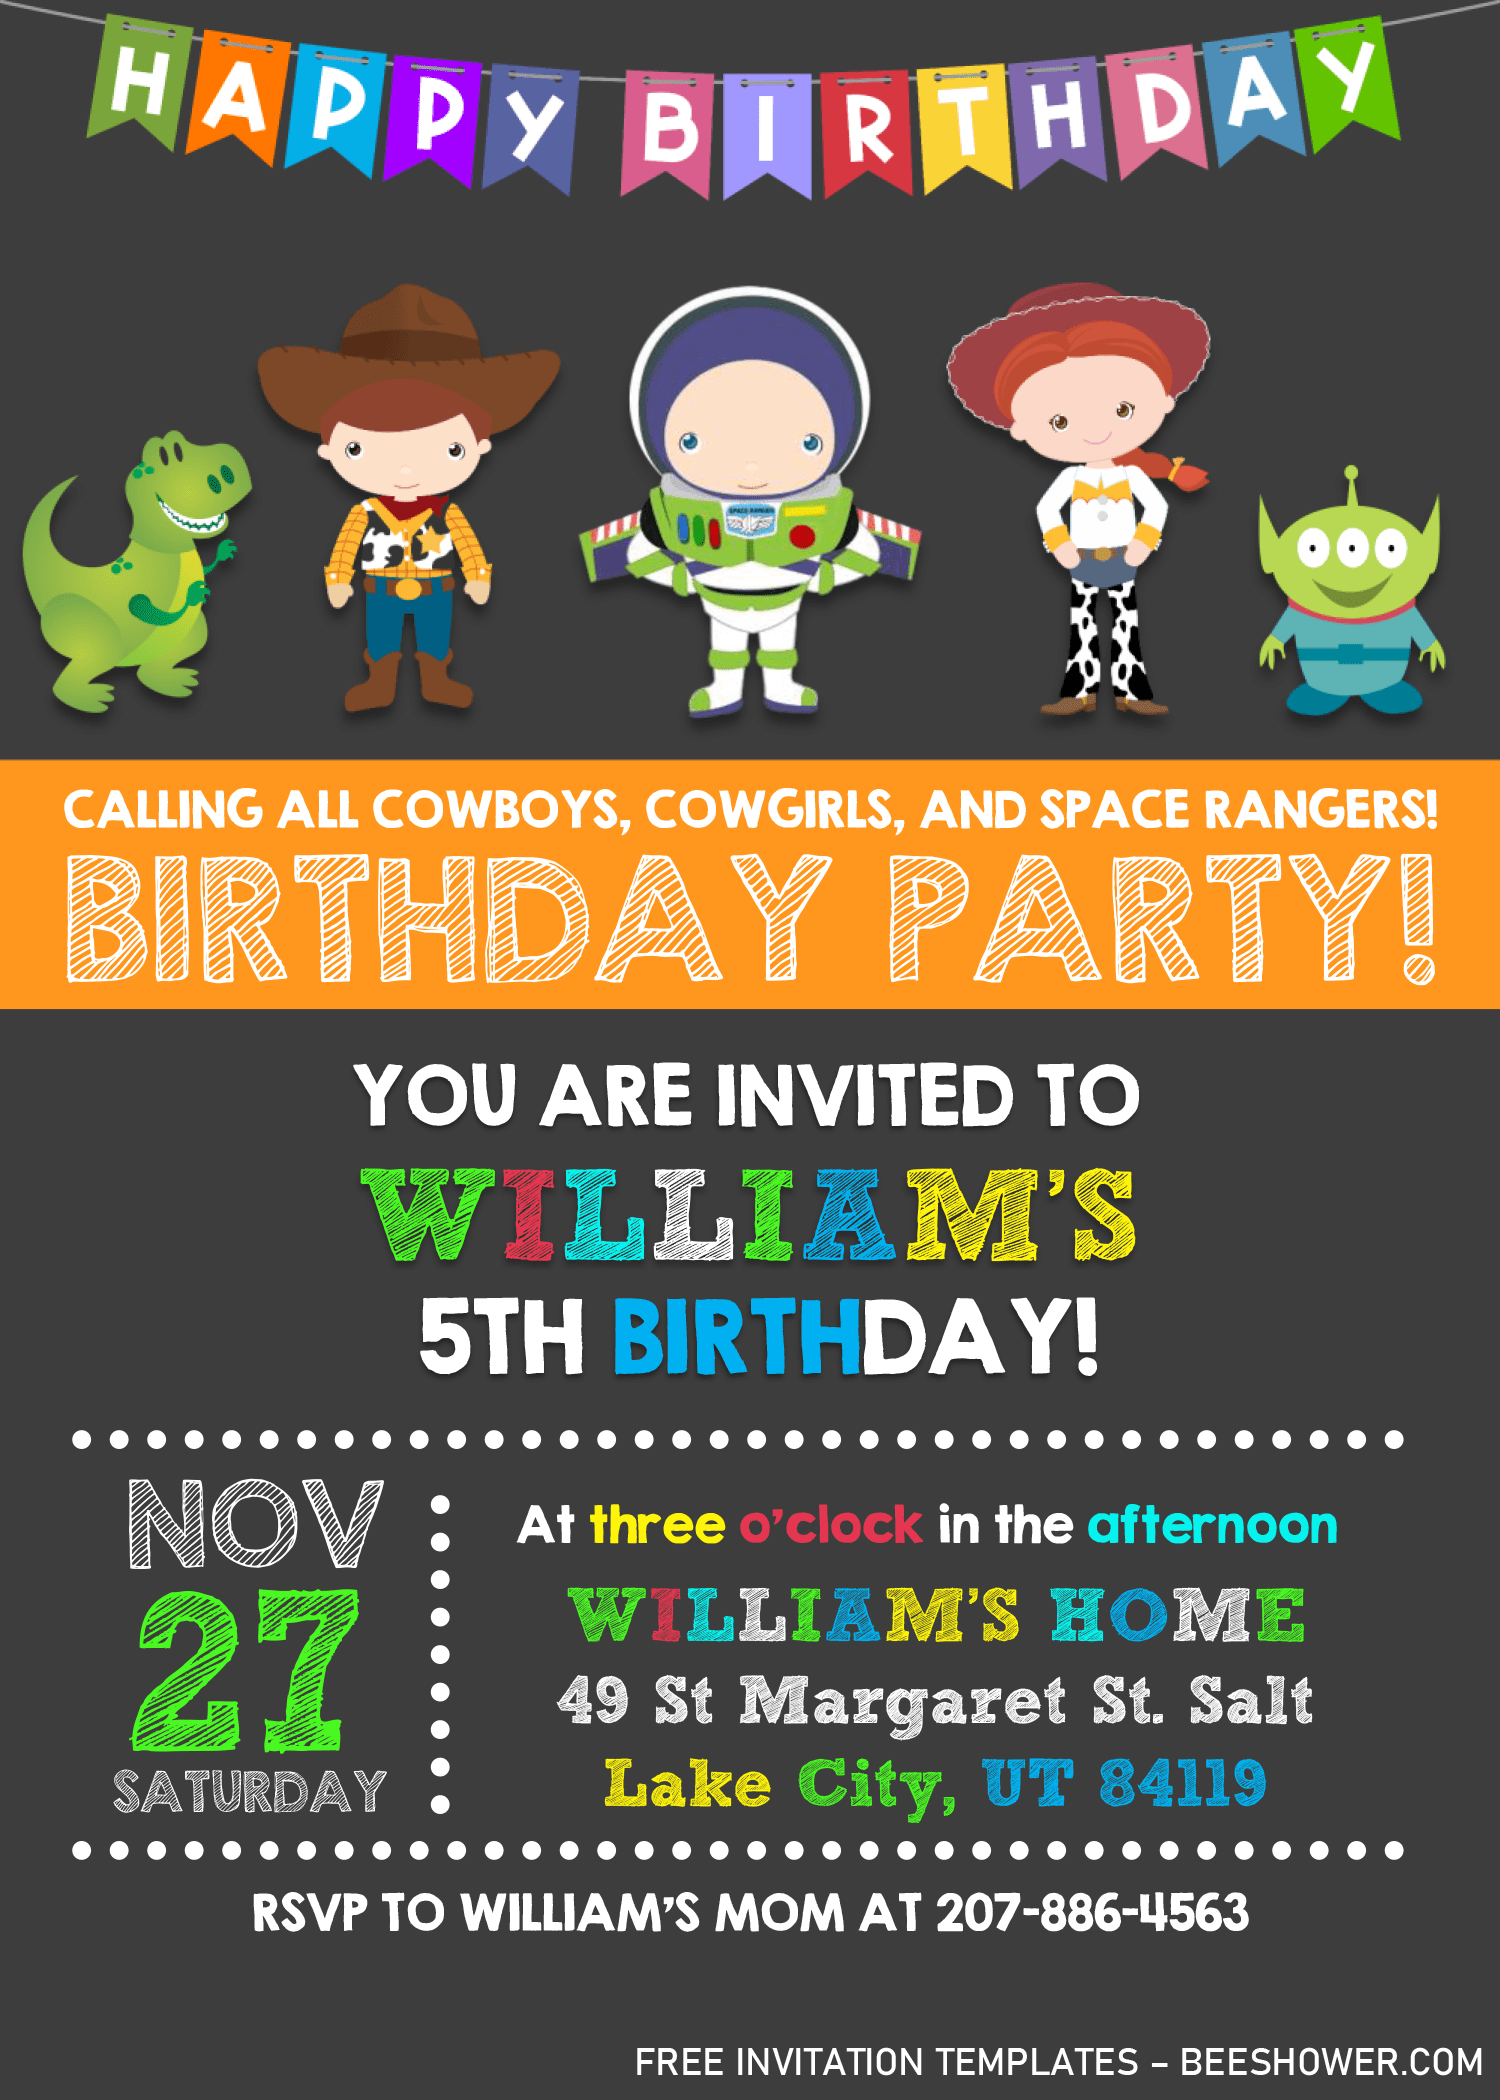
Brings back your kid’s memories through this adorable Toy Story birthday invitation cards. Your invitation card will be packed with many beautiful and cute stuffs. Despite that, you are able to edit almost the entire of the card. Nothing would be easier than using our template though, because all templates were designed and made using Ms. Word, so it’s easy-to-customized and yeah, it’s absolutely free for everyone.
This templates have portrait orientation layout, and already has 5×7 inch format, so you don’t need to do bunch of things, just to match with your printing paper. By the way, this template basically has two major different, one for “Blackboard” style background, and the last one is the “Colored” version. Both of them are included in the download option, so you don’t need to worry.
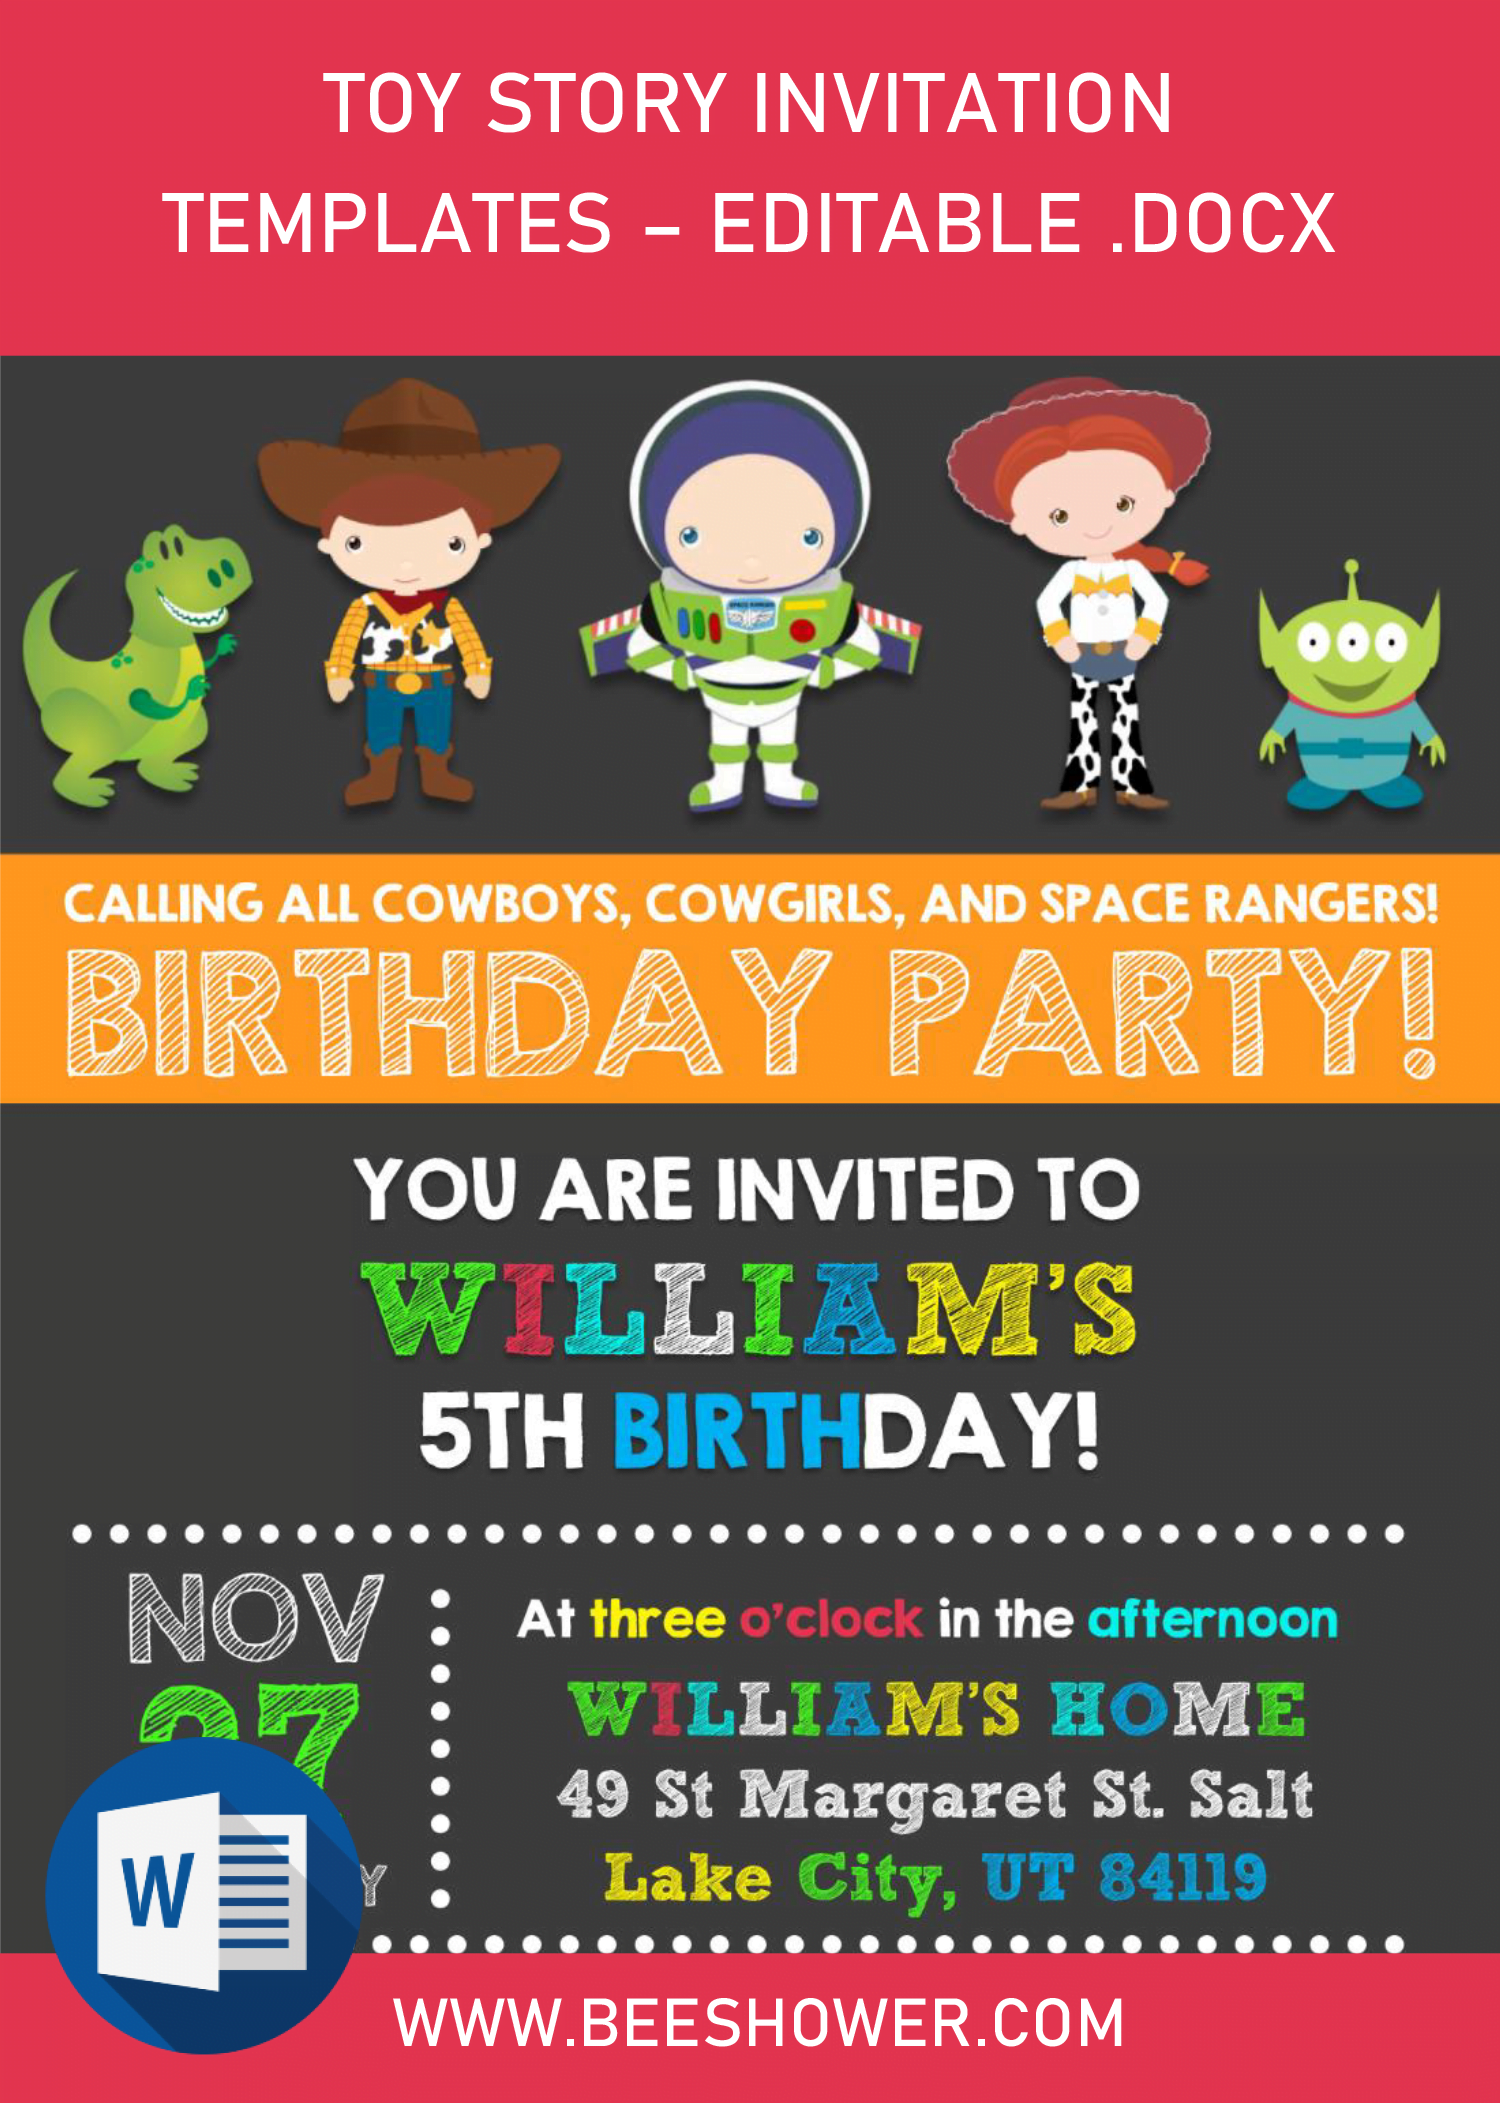
The blackboard style design has adorable graphics in 2d style, and for the other one, you will get the Toy story’s graphics in such awesome 3d format. Those are some details that you will get when you’re using our templates.
Guys! At the end of today’s article, I’ve wrote 3 Fun Activities to hype your kid’s birthday.
Download Information
- Click the blue-highlighted text above.
- Wait a moment, and you should see Google drive page, by now.
- Click the red download button, then tap “Enter”.
Editing Tips
- *Important*
- Extract/unarchive the Rar file with Winrar/7zip.
- You have to install all fonts inside the “Fonts” folder.
- How to edit
- Open the file with Ms. Word (Open the Ms. Word and Go to File > Open > Browse the file > Open.
- To add text, you’re going to need something called as “Text-box”
- Go to Insert > Text Box > Simple Text Box / Draw your own > Type your text.
- To replace text in pre-existing boxes, click and hold your left-mouse button to the edge of the box until you see “4-headed arrow”, then you’re able to move it by dragging the box.
- When you done with the editing, don’t forget to save the file.
- Printing
- Go to File > Print, and fill all the necessary settings. (Like how many copies you want to print, and so forth.).