Where’s the Magical Unicorn?
Oops! Wait, before we’re going to see the “Magical Unicorn” invitation that everyone wishes to see it, I’m going to tell you a pretty good news. Starting out from last week, any template in this site will have JPG File included, for better-customization, for both beginner and more advanced user. So, hope you enjoyed this good-feature.
Okay. Let’s back to the original topic. Fun-fact*, I’ve been working on many projects, but one particular thing is certain, I’m absolutely enjoyed my time when it’s related to “Unicorn”. Ha-ha! Kinda weird, isn’t it? I’m really obsessed by how it looks like, (Like in today’s design). What a Beautiful display for our kid’s birthday invitation card, bunch of adorable stuff on top of such gorgeous pink background.
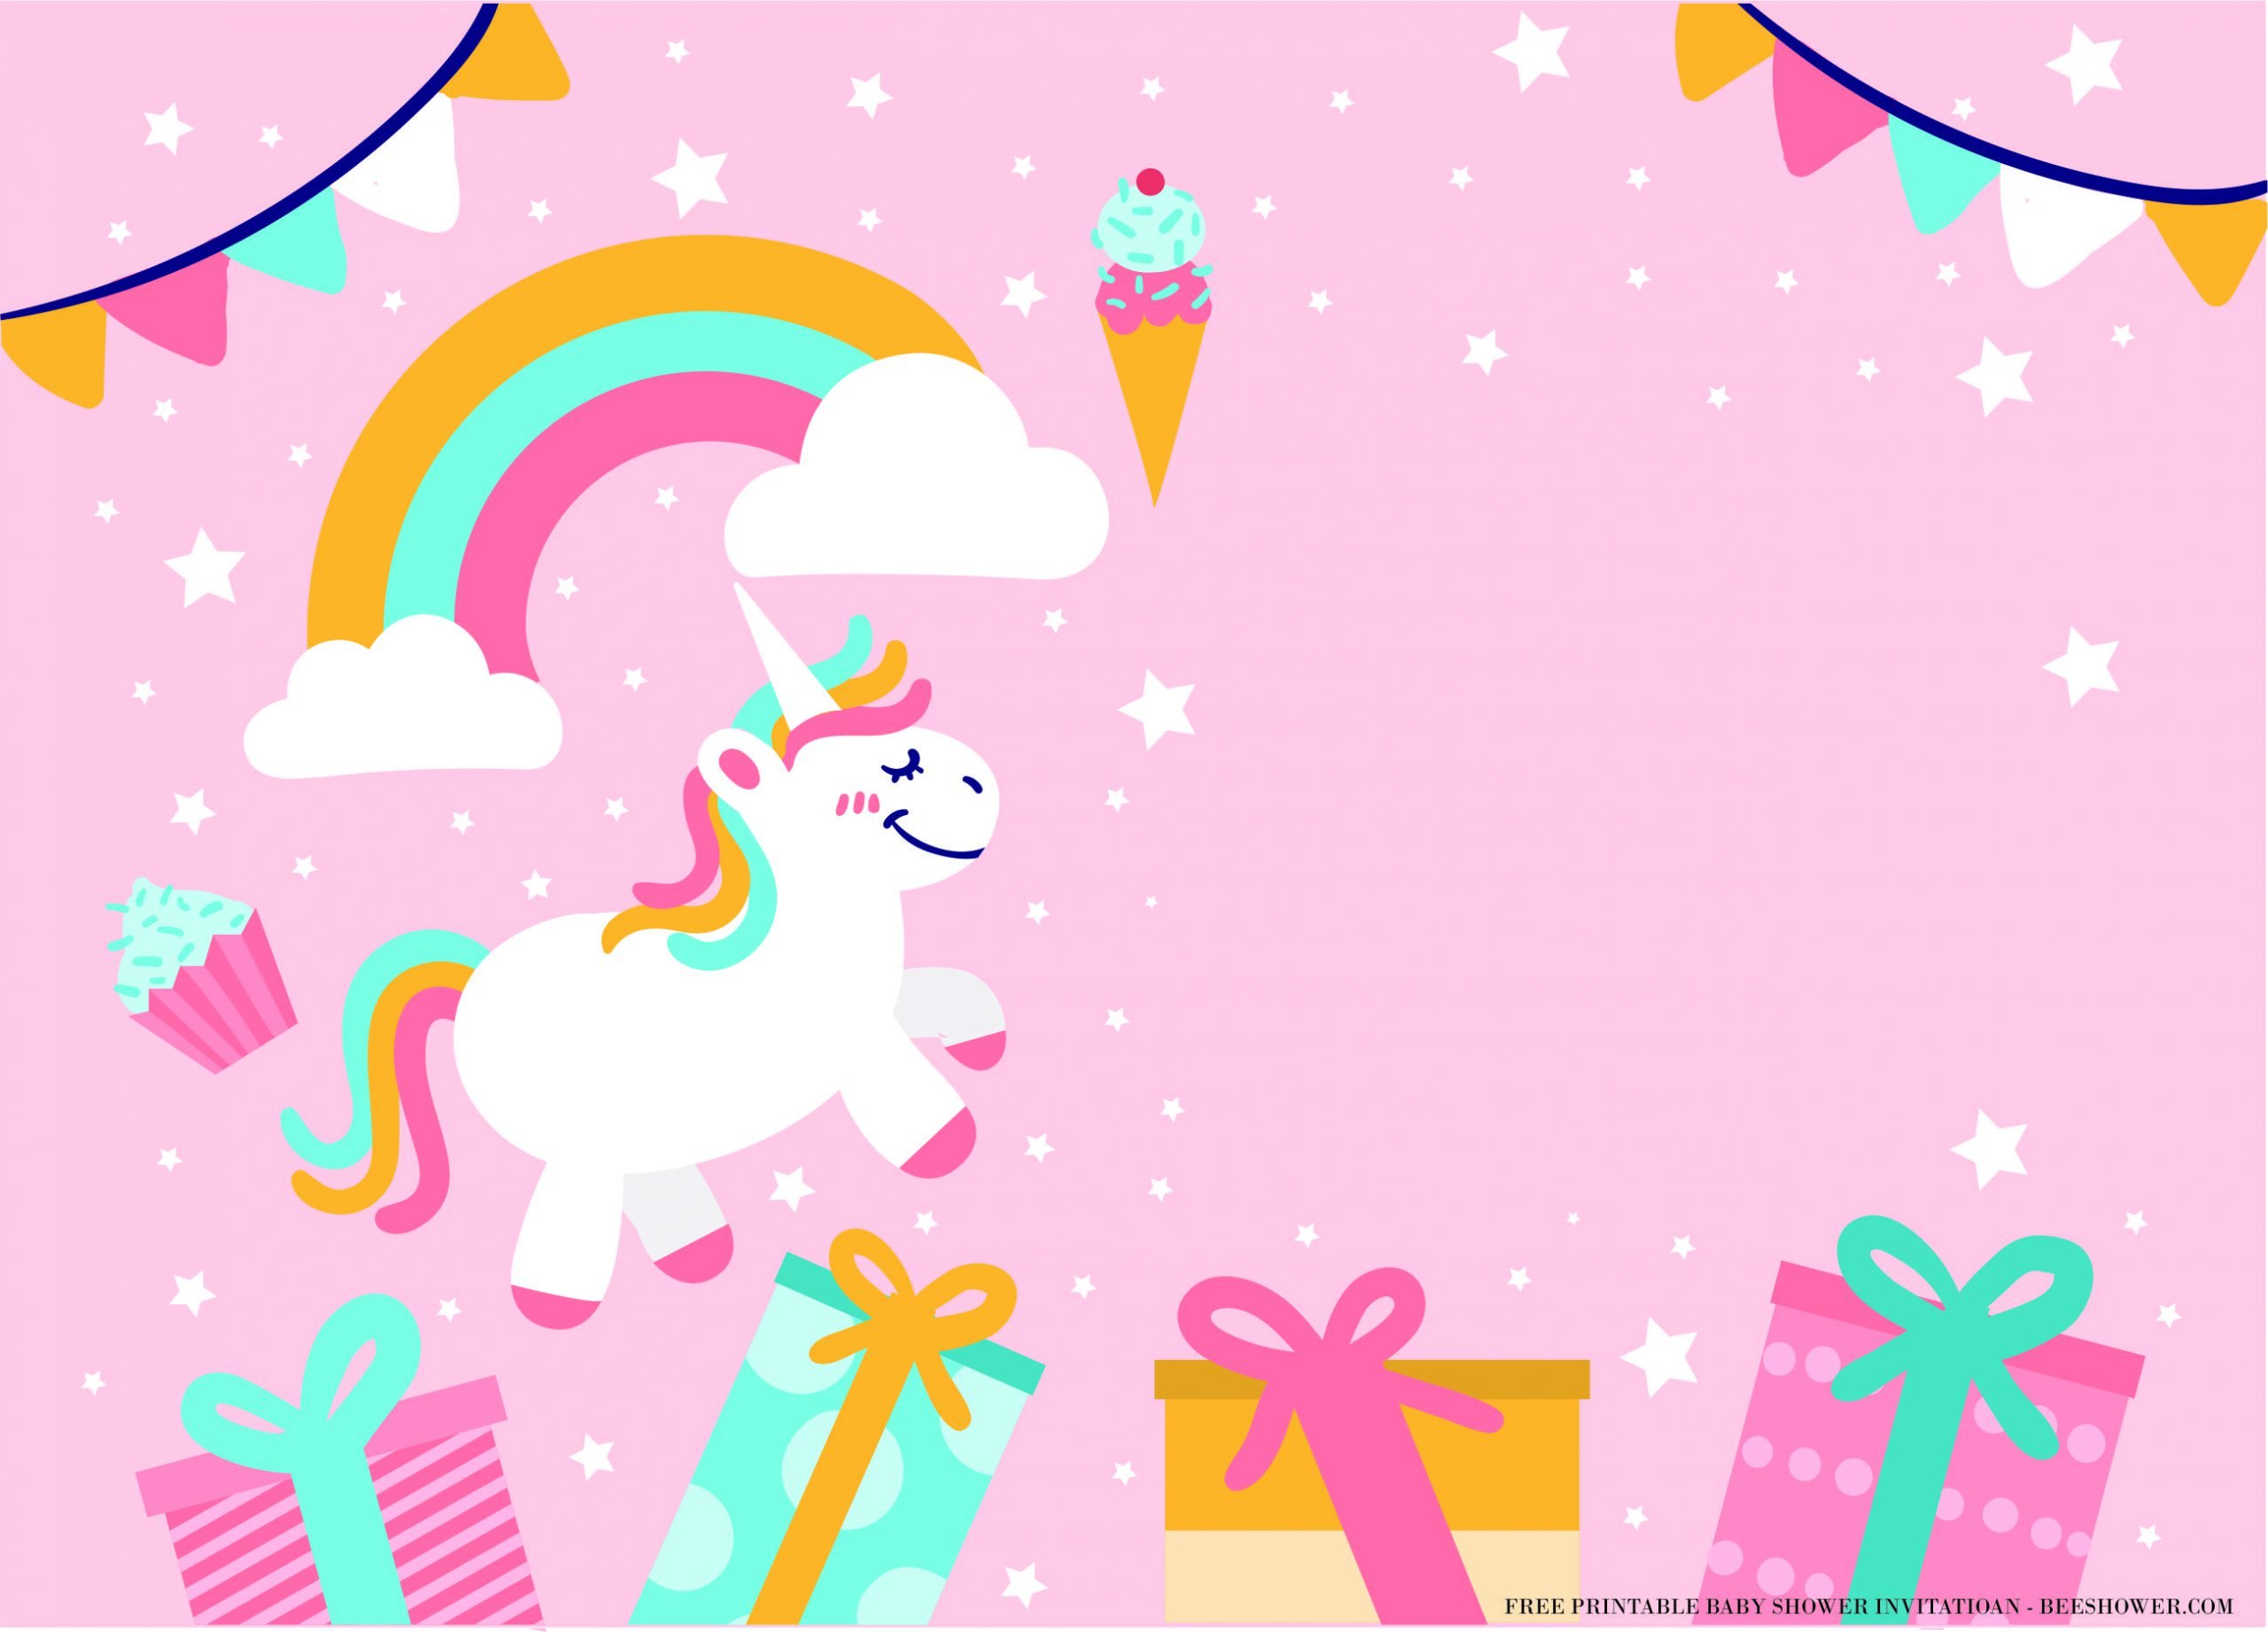
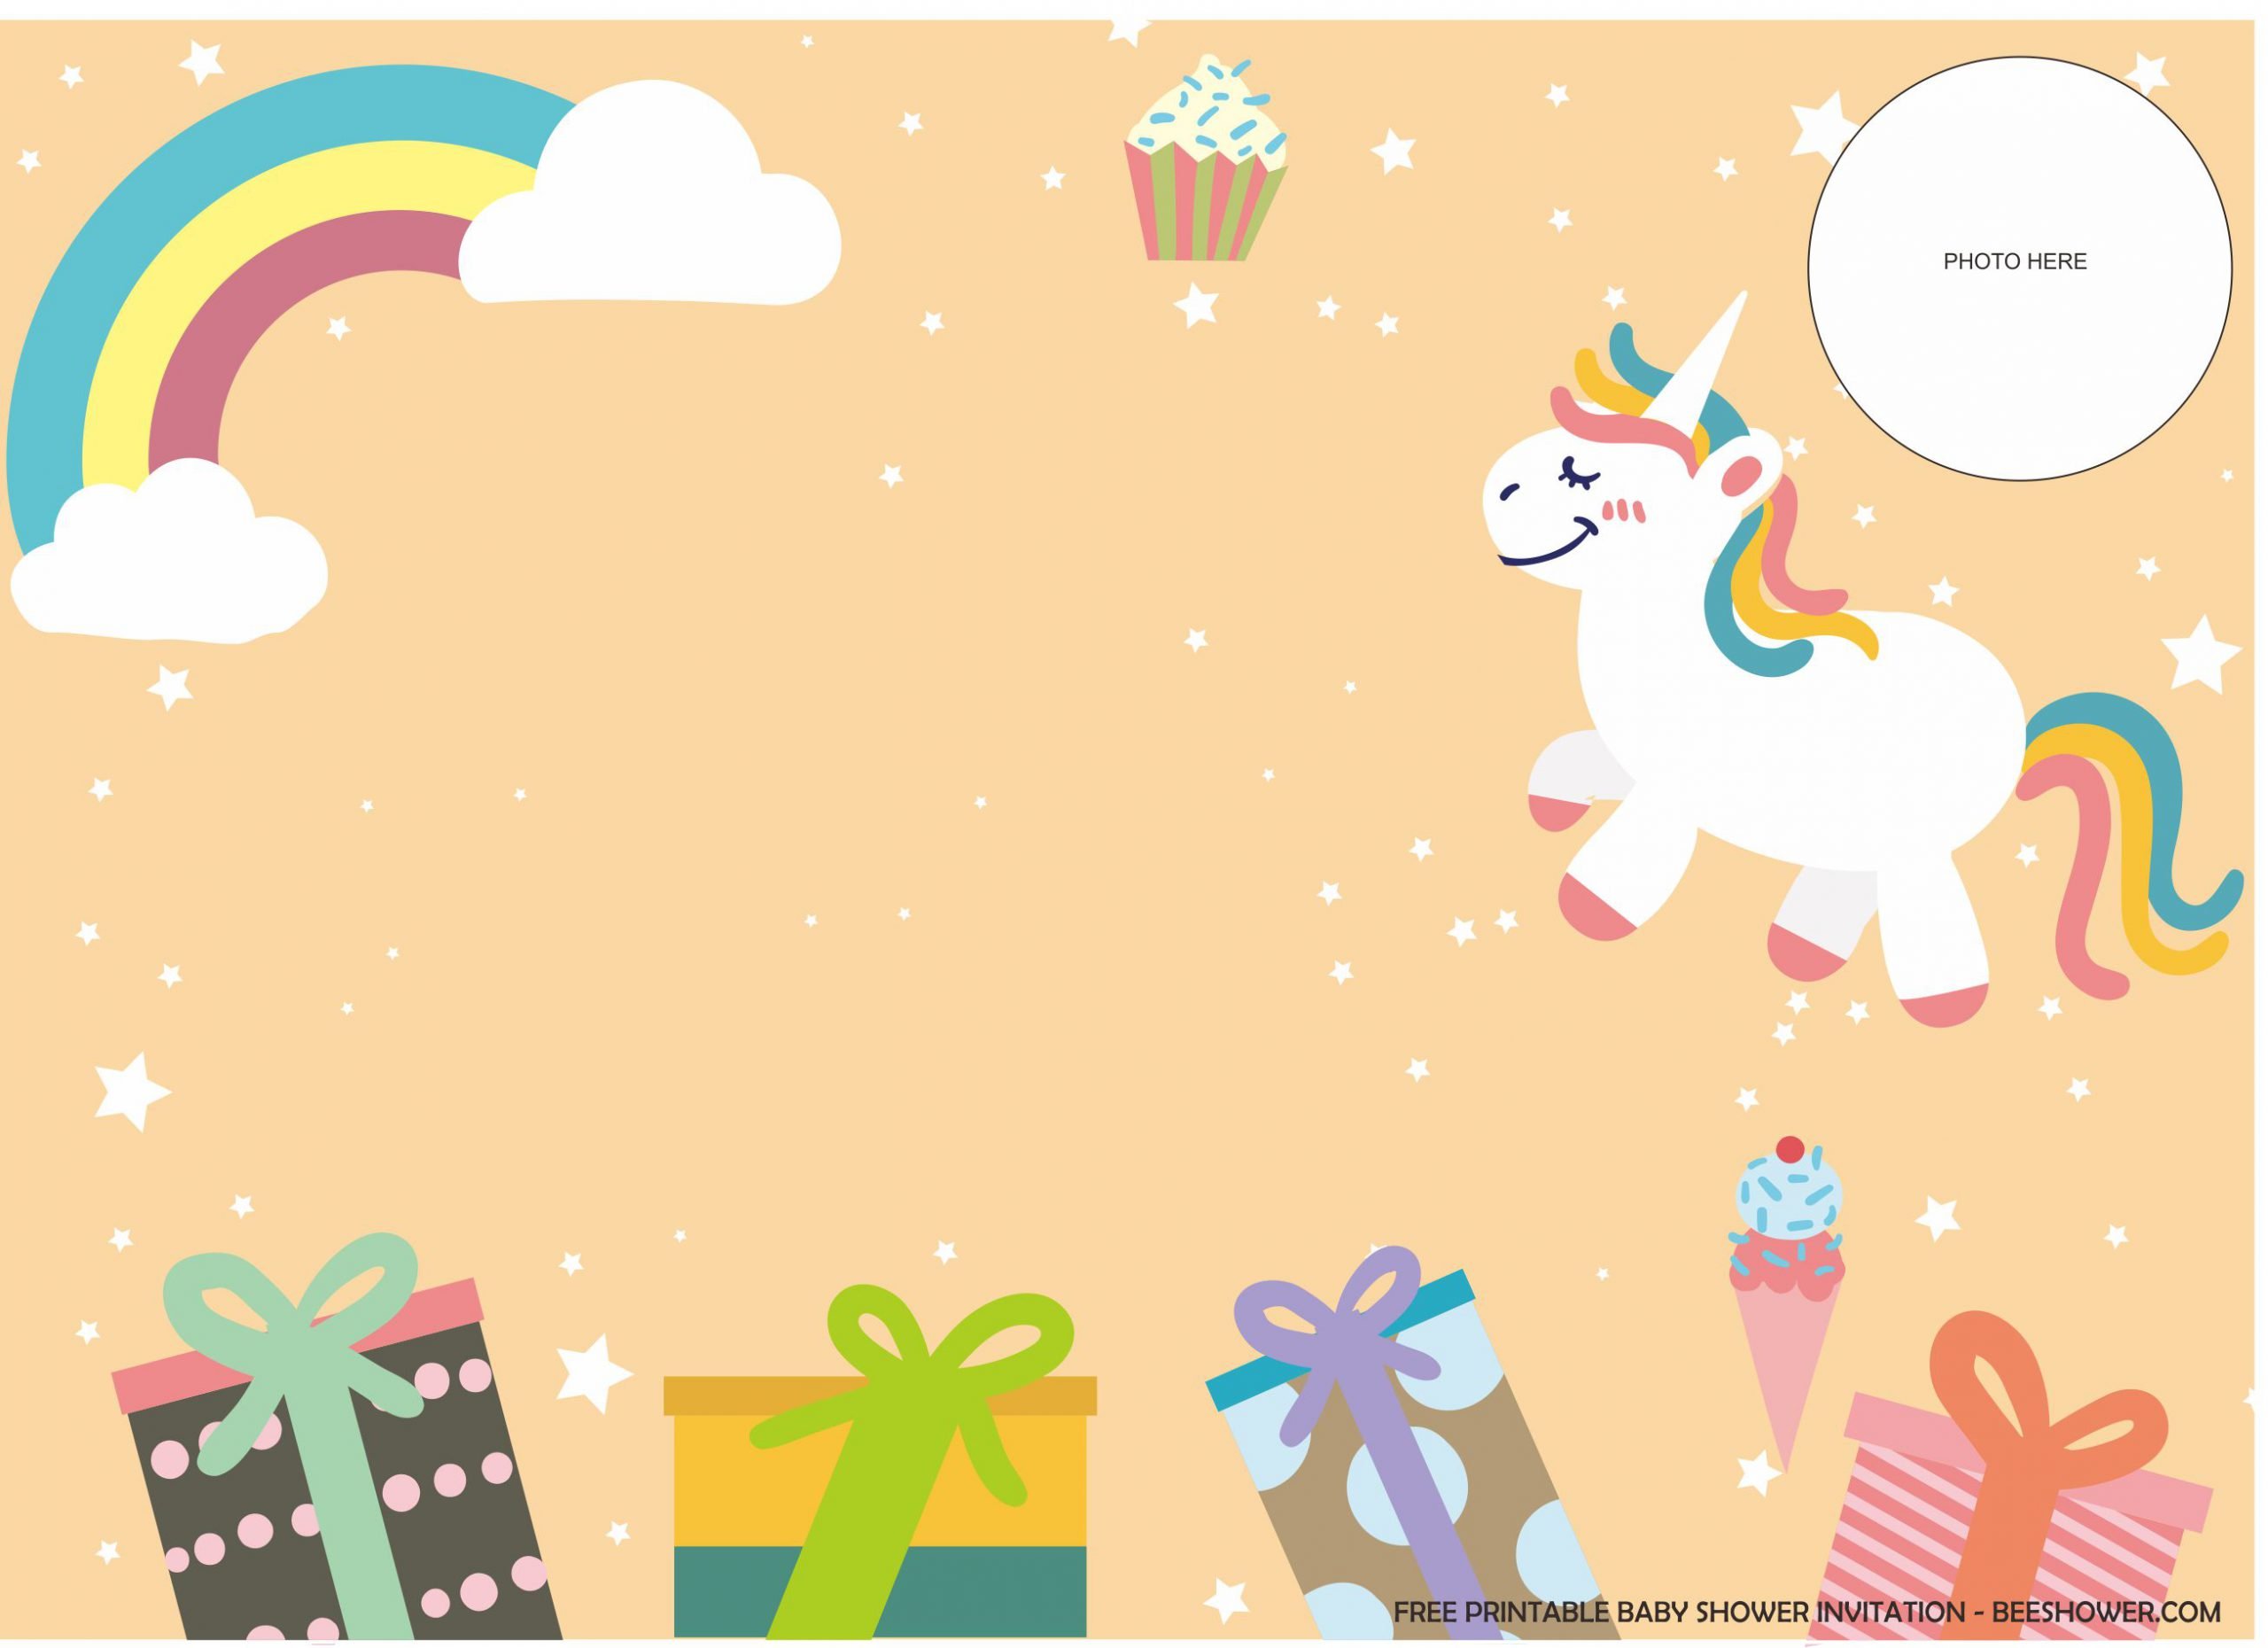
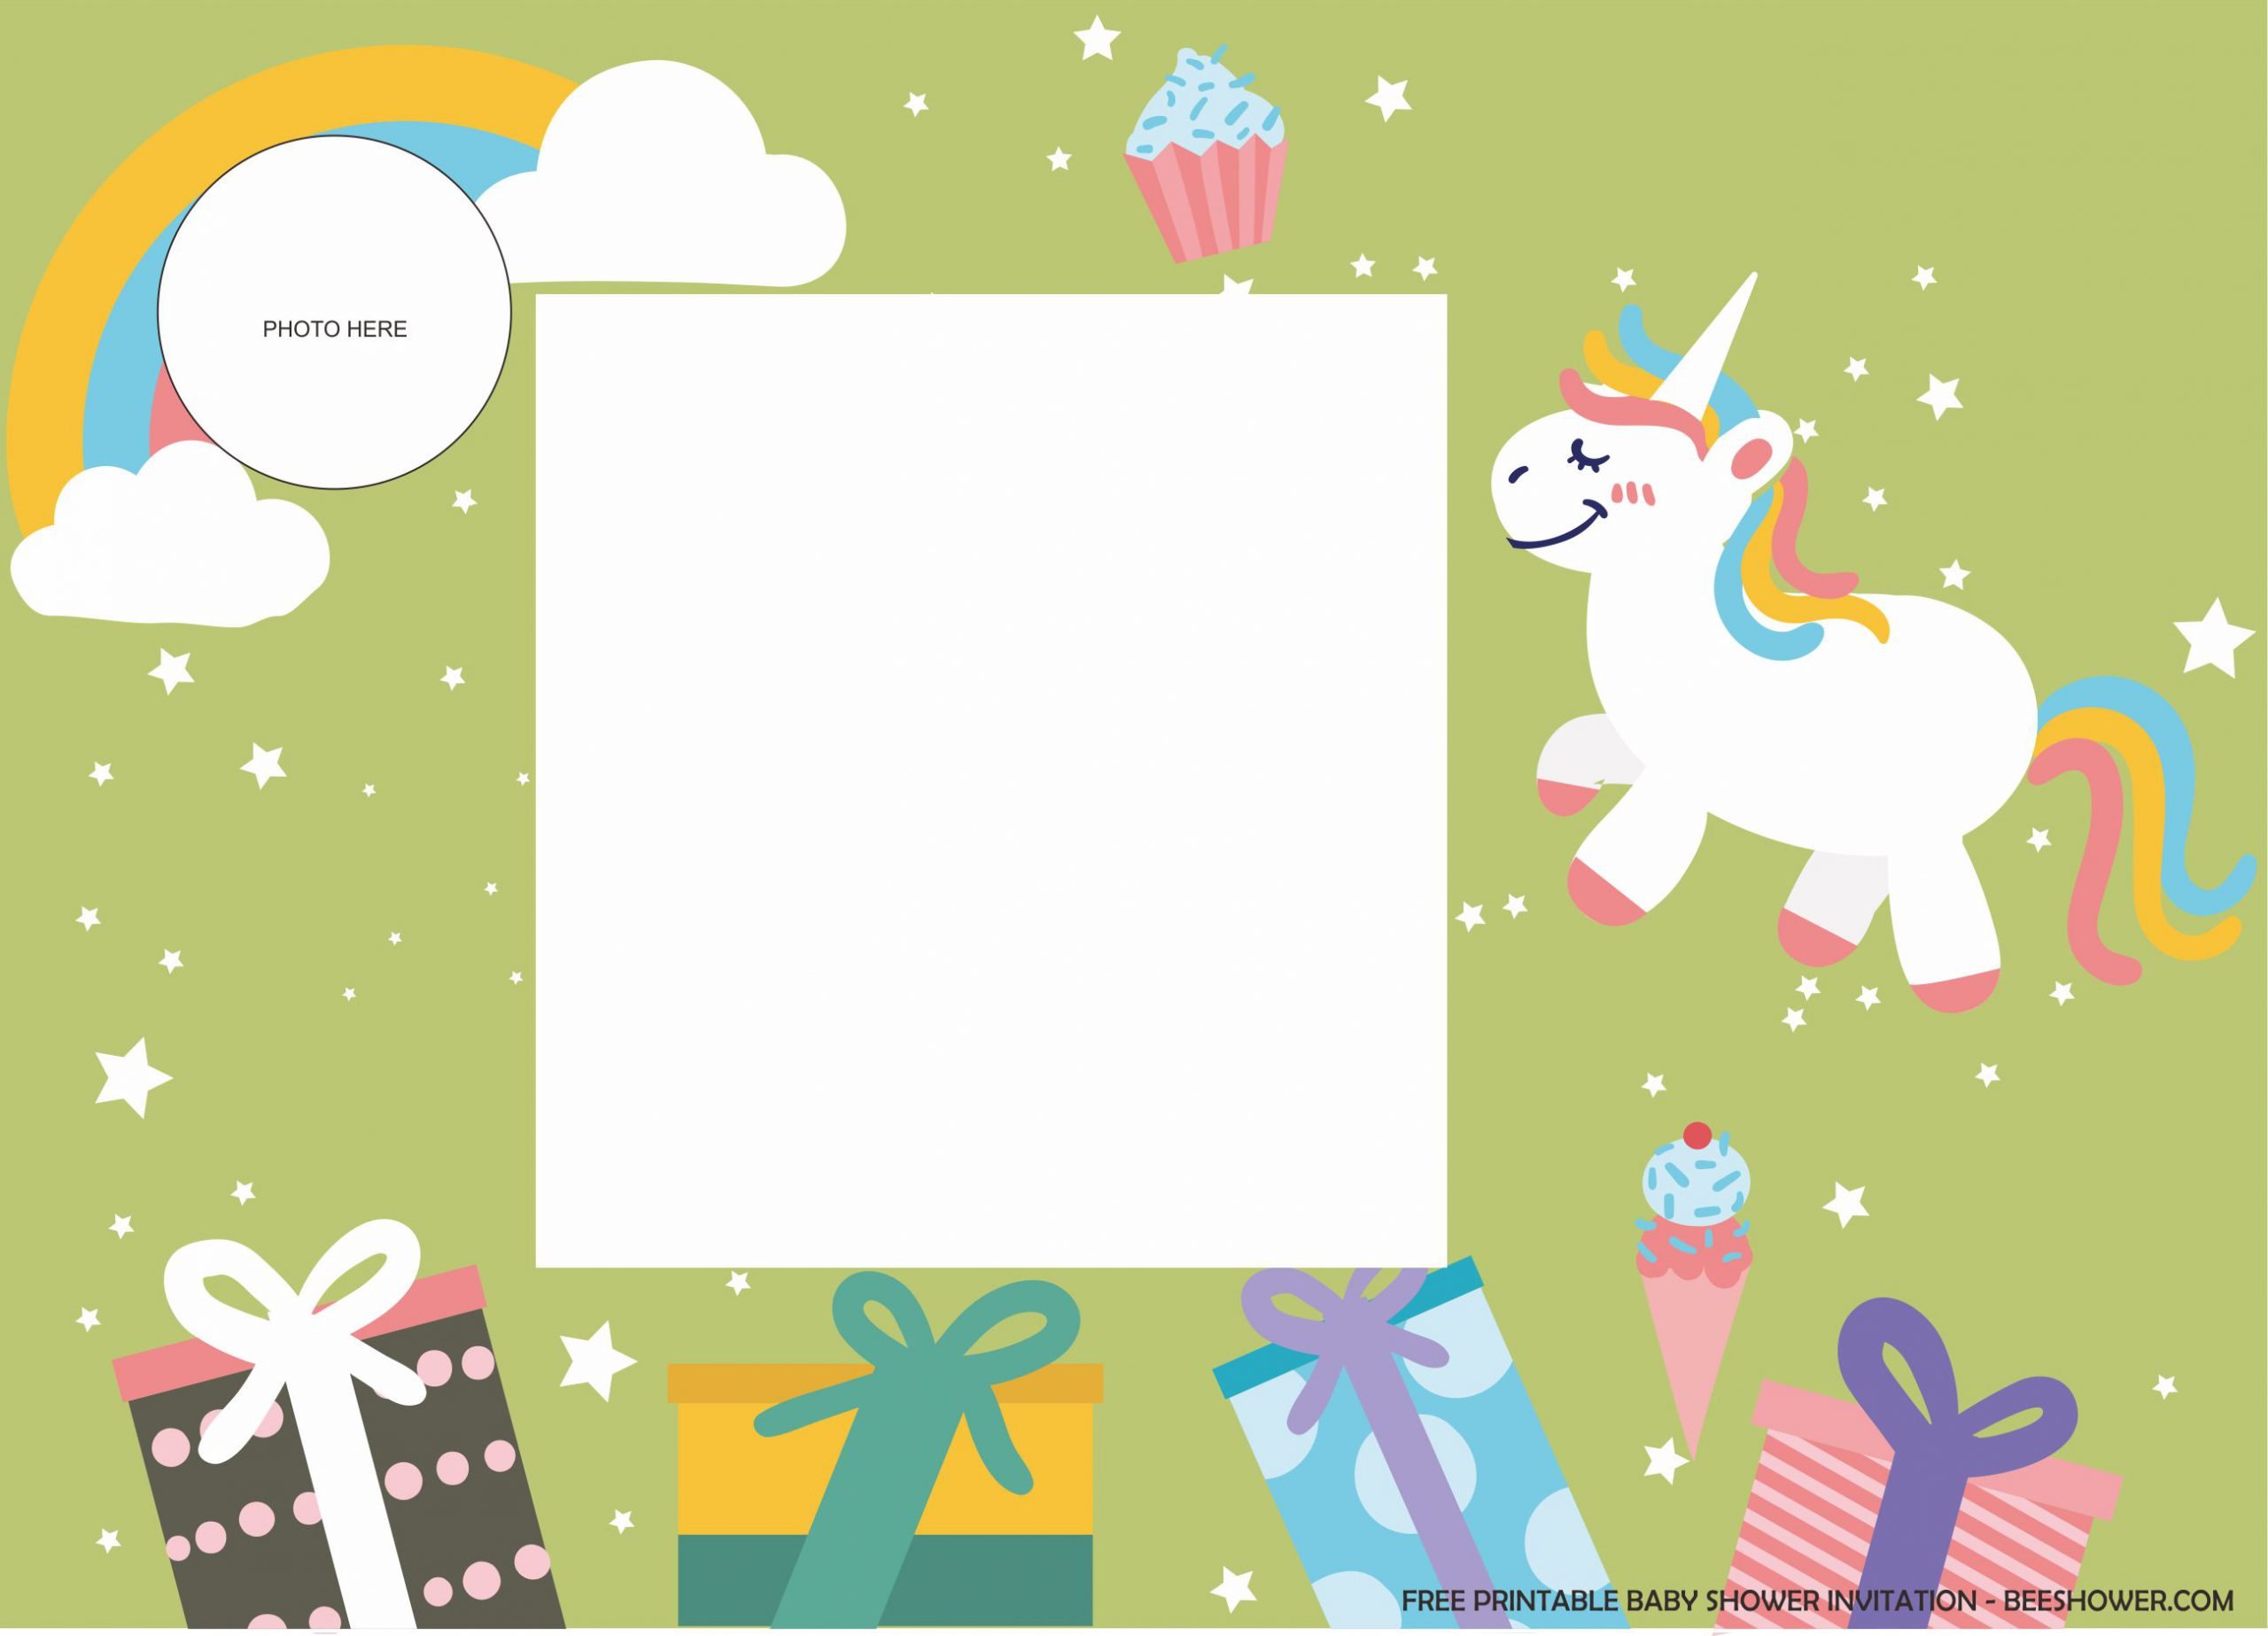
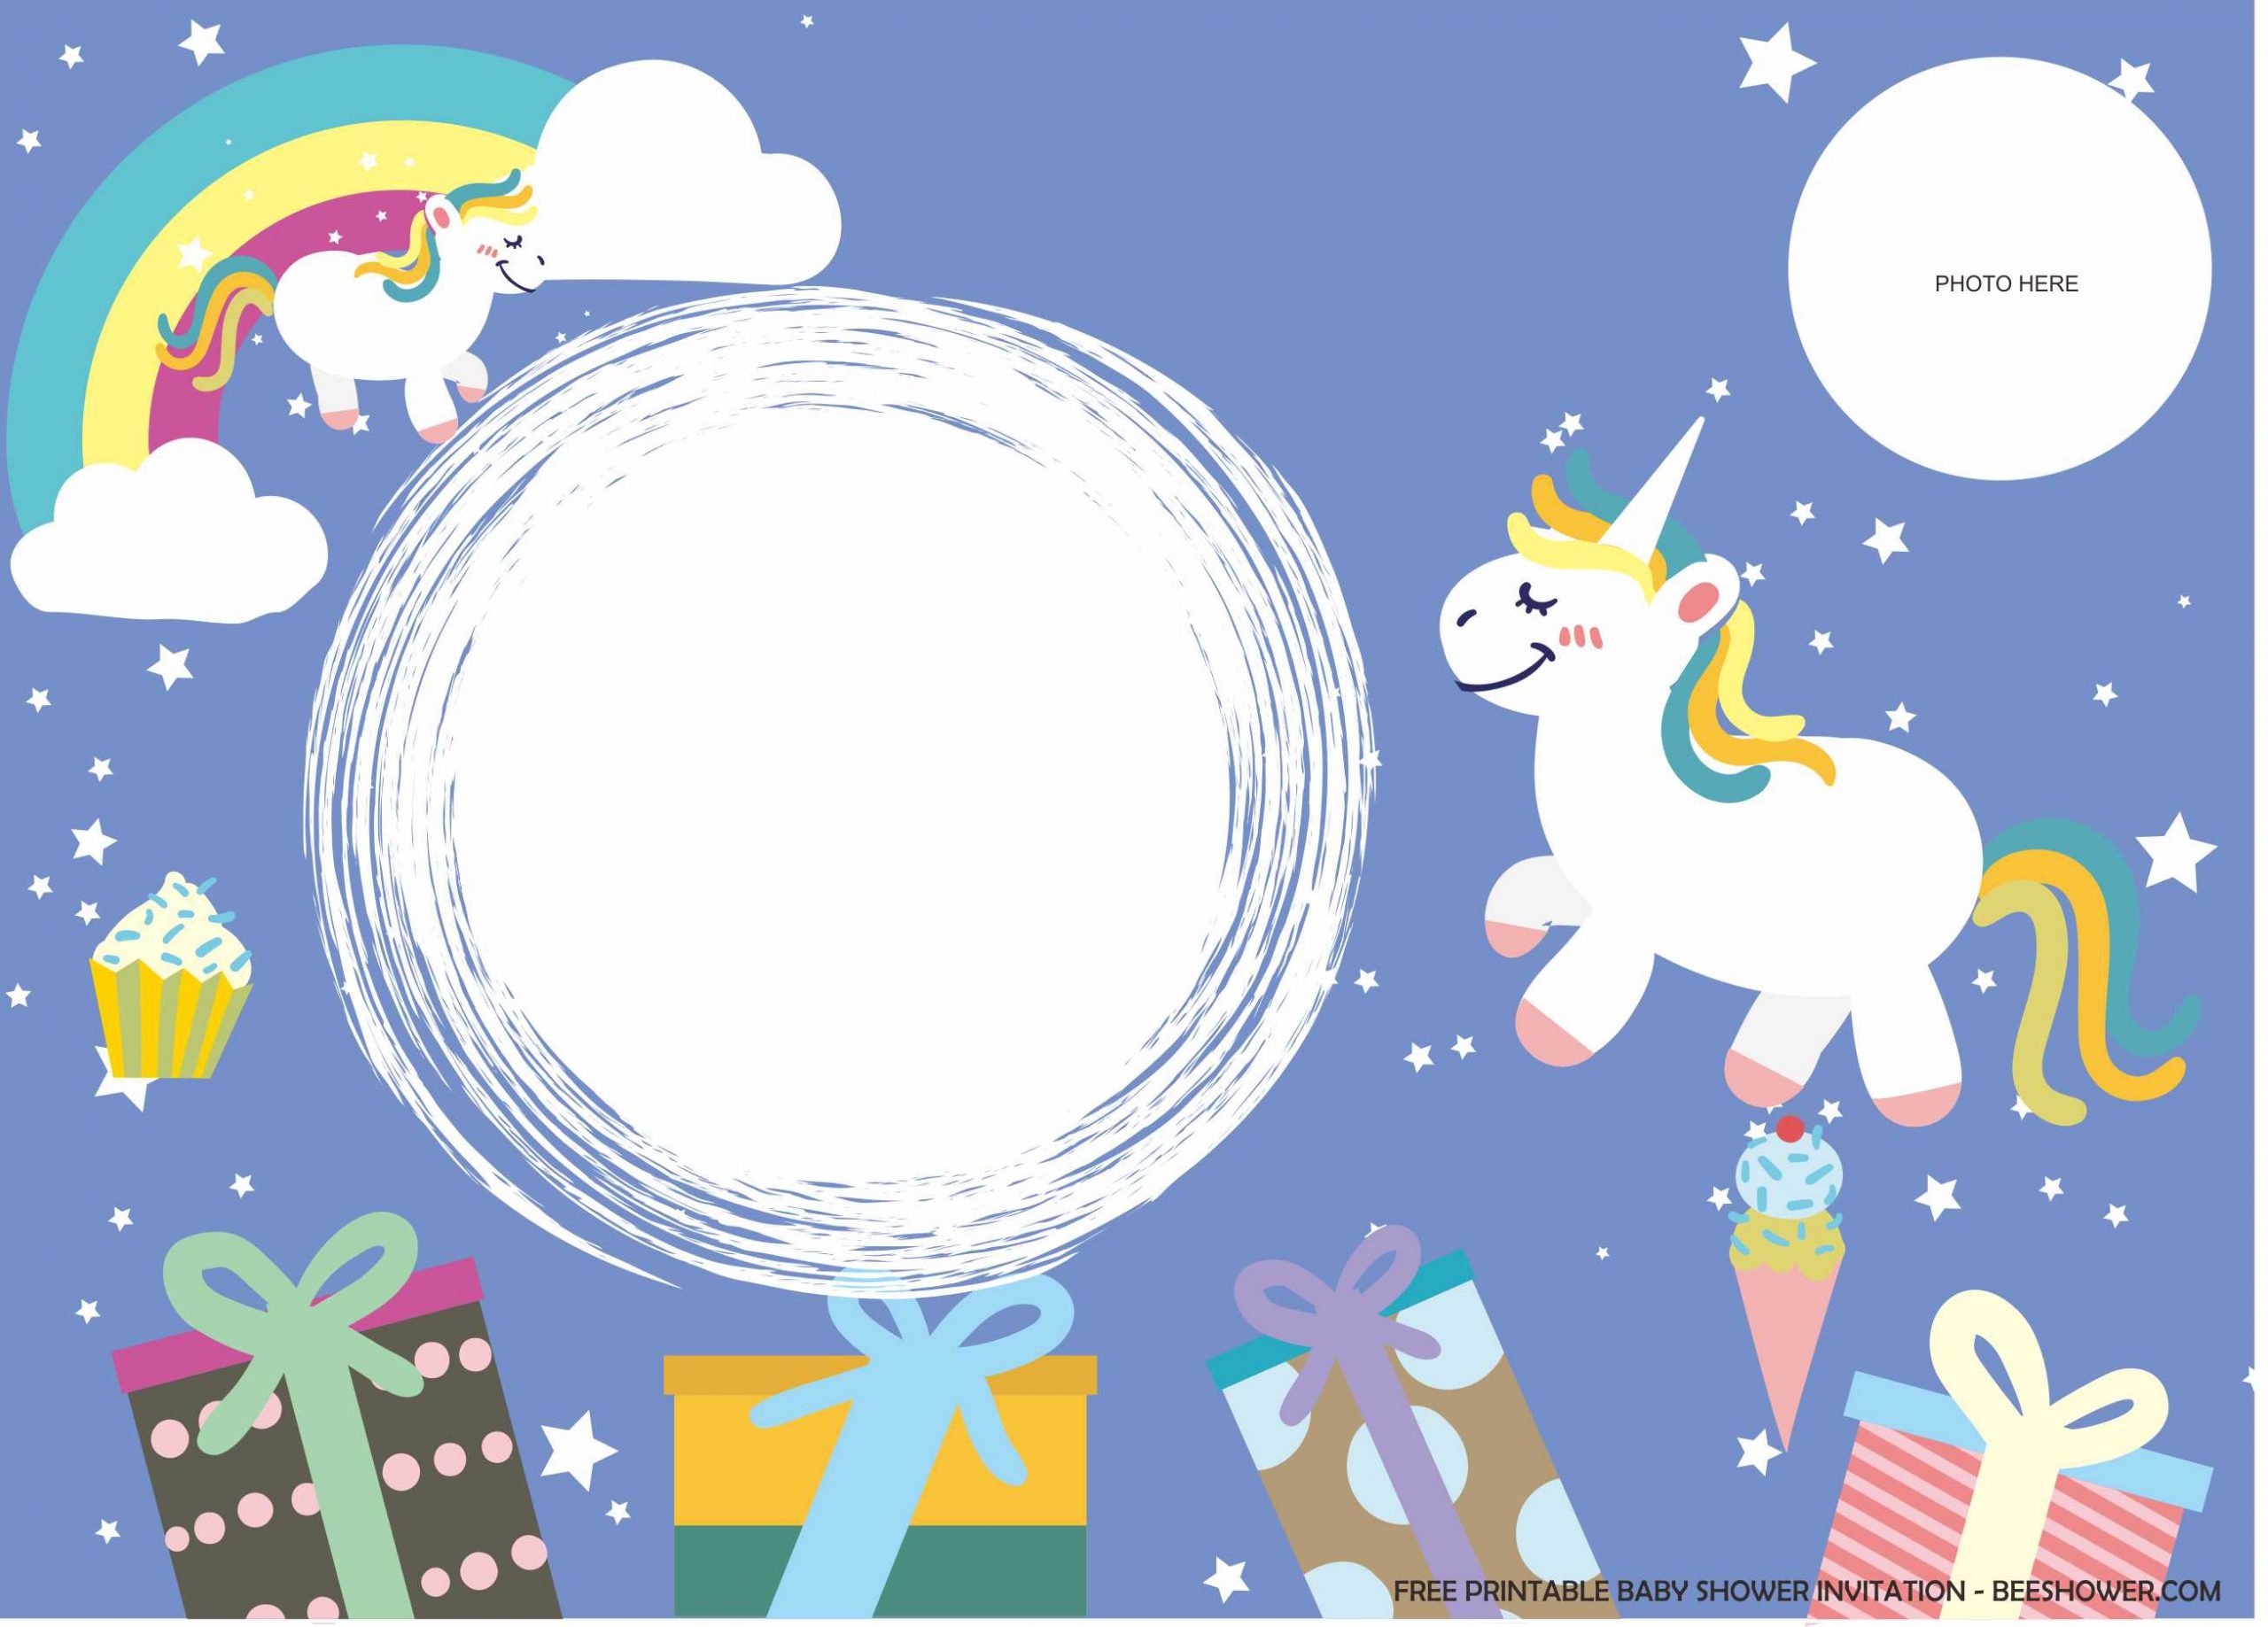
Actually, I’ve been working on this one for almost a week, to make it looks even better, so I decided to sprinkle its layer with cute twinkle stars, along with charming Baby Unicorn with her unique “Rainbow” hair and tail. Right next to my lovely “Magical Unicorn”, I’ve prepared a place for you to insert your own party information, like Where the party is taking a place, or When the party is going to be held. I’m pretty sure that everyone will be amazed when they see how adorable this card is.
☝️ It looks so adorable, doesn’t it? You can have it for free though!

Now, you’ve got one of the best “Unicorn” themed invitation card, the next thing you’ll need to do is download the template, I’ve wrote the instructions below, so check this out now, guys.
Download Instructions
- Right-click each template you desired.
- Select “Save Image As”, then locate the folder.
- Click “Save” or tap your “Enter” key.
- The download process will begin shortly.
How to Insert Text in Photoshop
- Open the file first, by opening the Adobe Photoshop and Go to “File” > Open. In the next dialog, browse our template and click open.
- Go to the Tools panel (It’s vertically displayed on the left side of your screen), select the Horizontal Type tool. Click your image where you would like to insert text and type a phrase.
- To change the Font-style/size, it’s displayed on top/Ribbon Menu, by default it was set using Calibri Font, click that > and scroll the list to find your favorite font-style. For the font-size, it goes the same as previous steps.