Every birthdays are as precious as we got the chance to feel the warmth of the Sun, and feel our hard work paid off. Every hours are also as precious as those chances, and bear in mind that every details in your party will become a good or bad matter later. So, don’t ever try to twist your special event with lighthearted effort.
Throw the greatest party for your kid and define a new standard that makes everyone’s becoming your follower. How? The easiest way you could do is featuring a fabulous party ideas and don’t forget that your party invitation also has quite big impact to your party. This following 10+ Reel In The Fun is everything your little fisherman needs!

If you have little to know where to begin with. This collection will guide you to a fun and easy-to-use DIY printable invitation. It has the adorable theme that represent the “Fishing” themed birthday. It comes with cute presentation which consist of Bubbles, Fishing Rod, Life ring, Old Fisherman and many more.
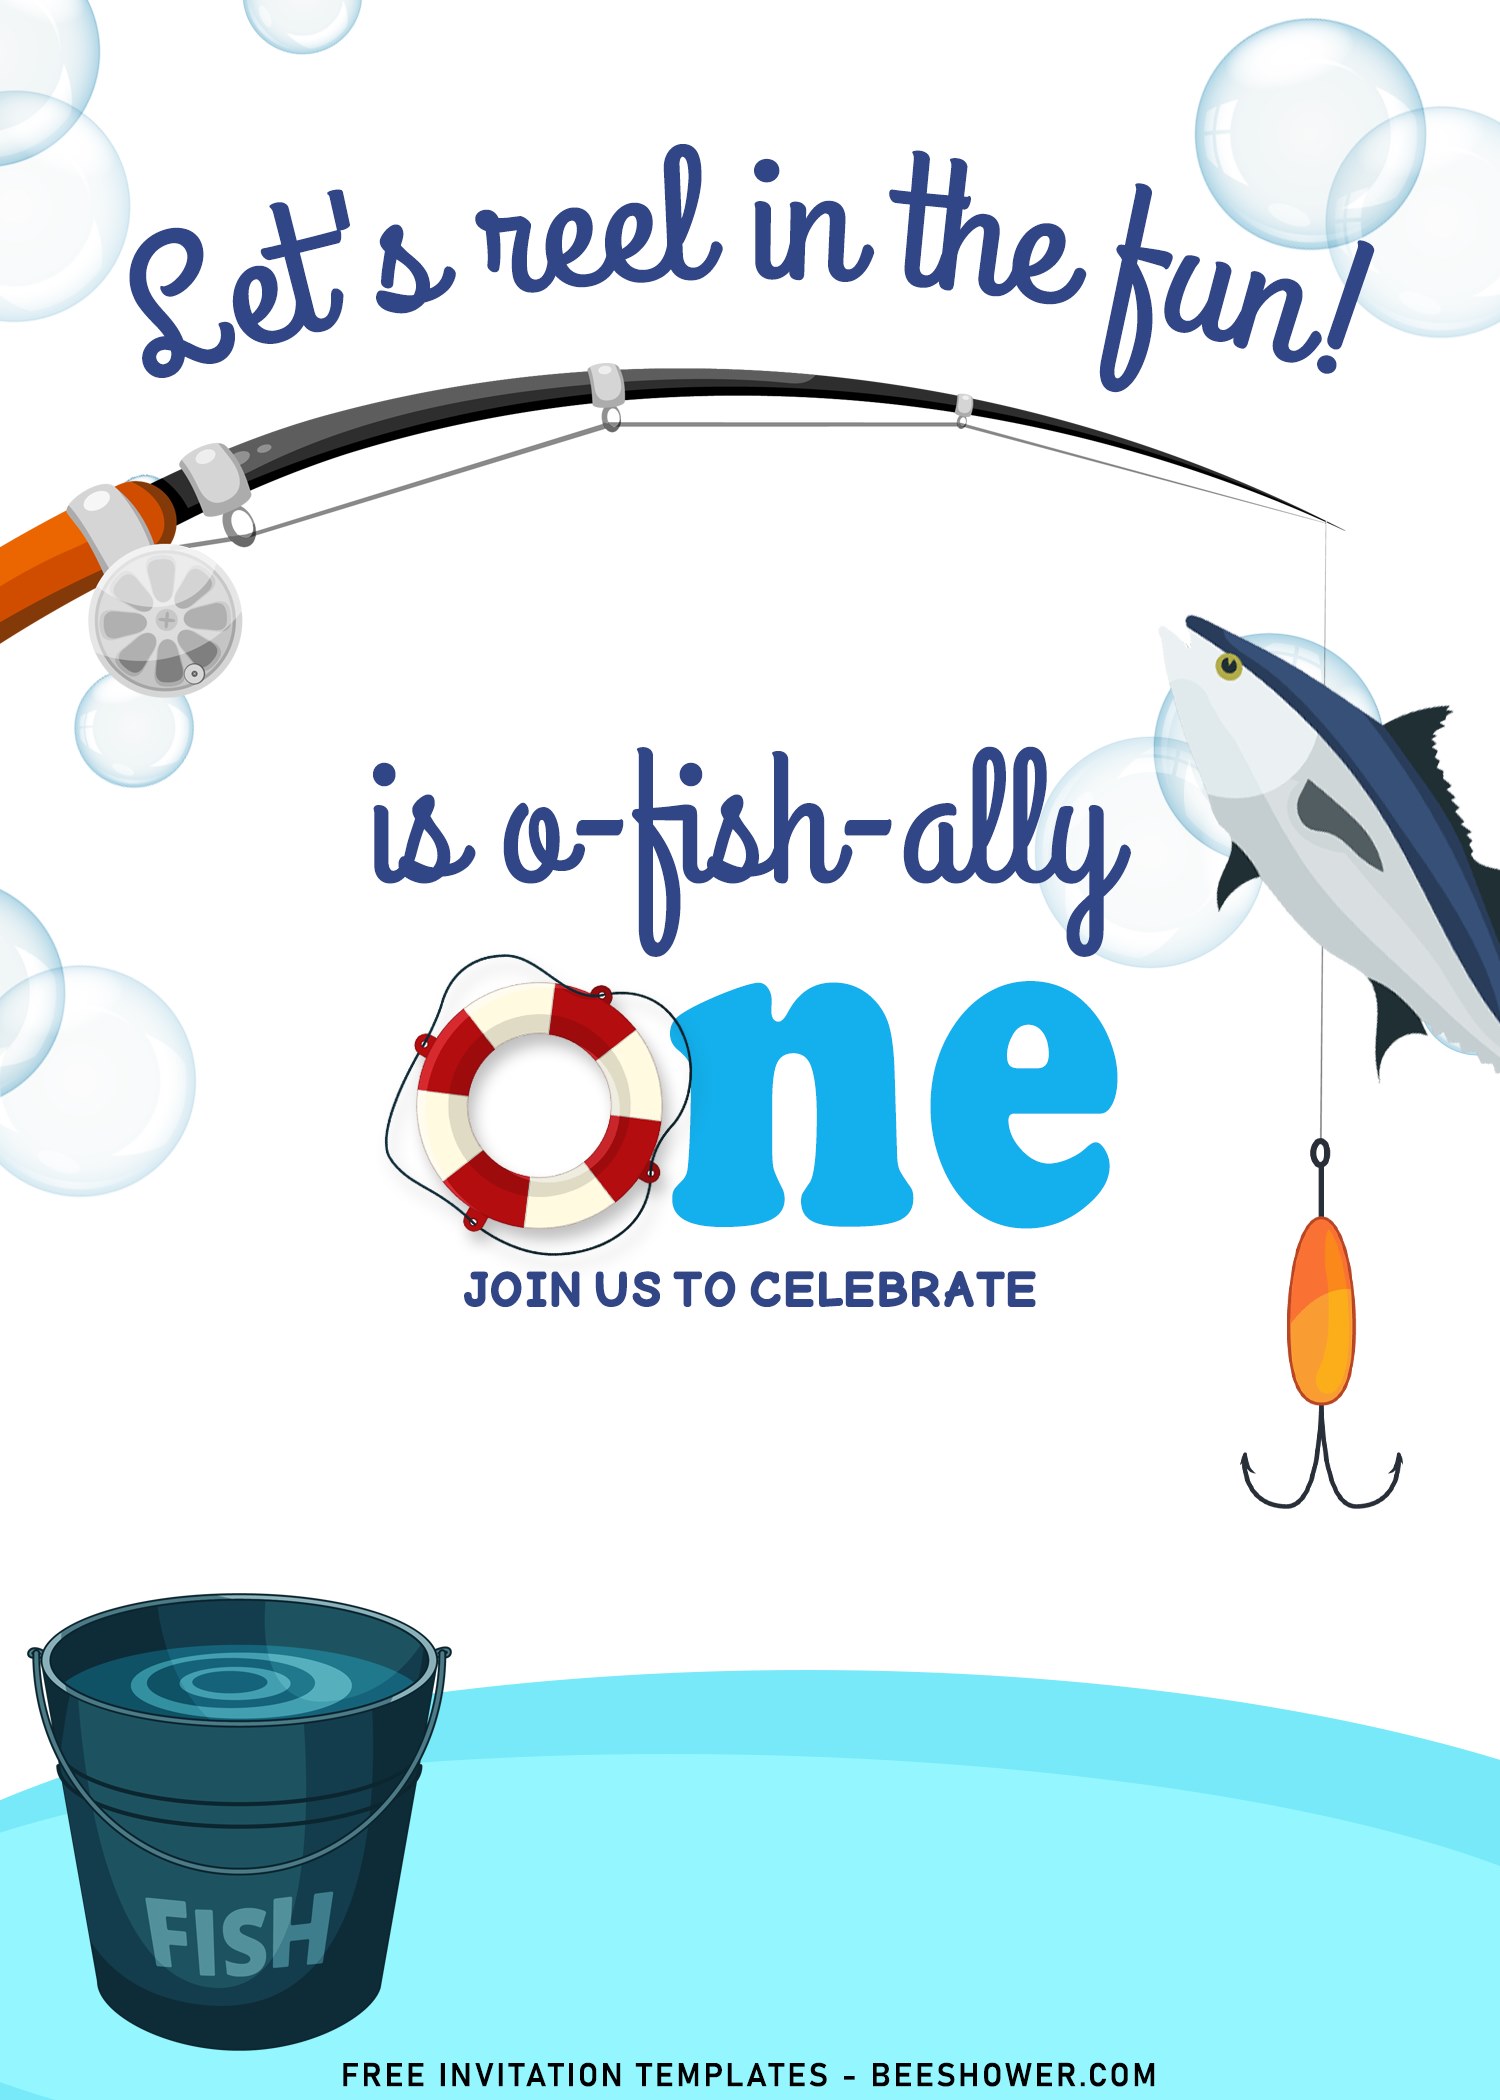
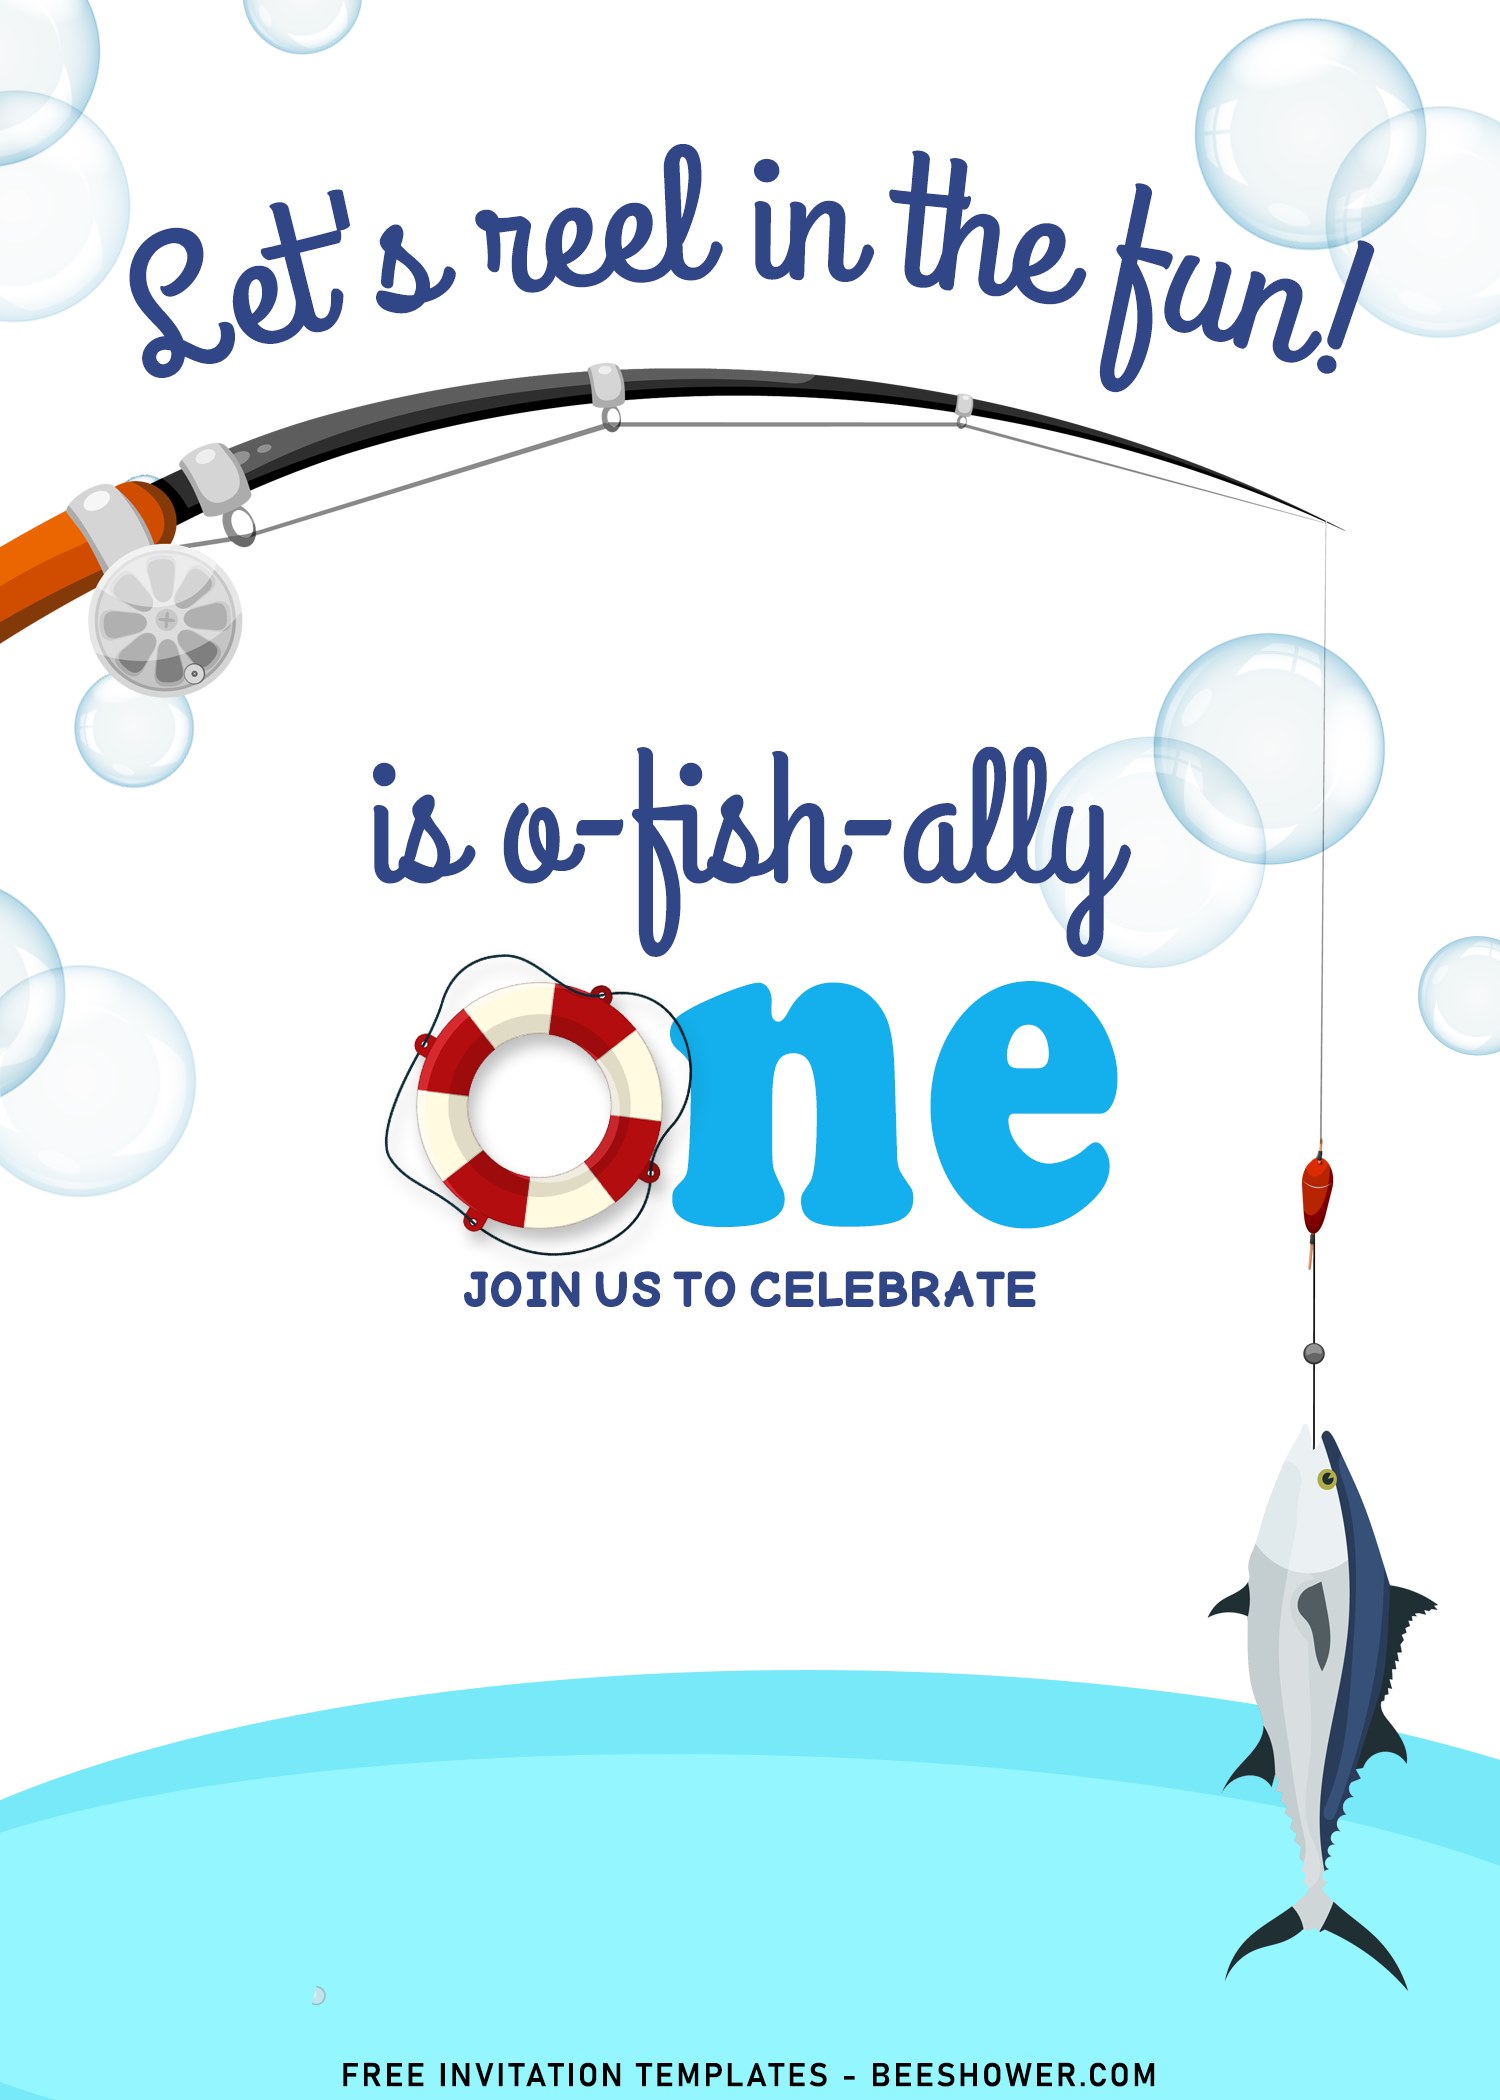

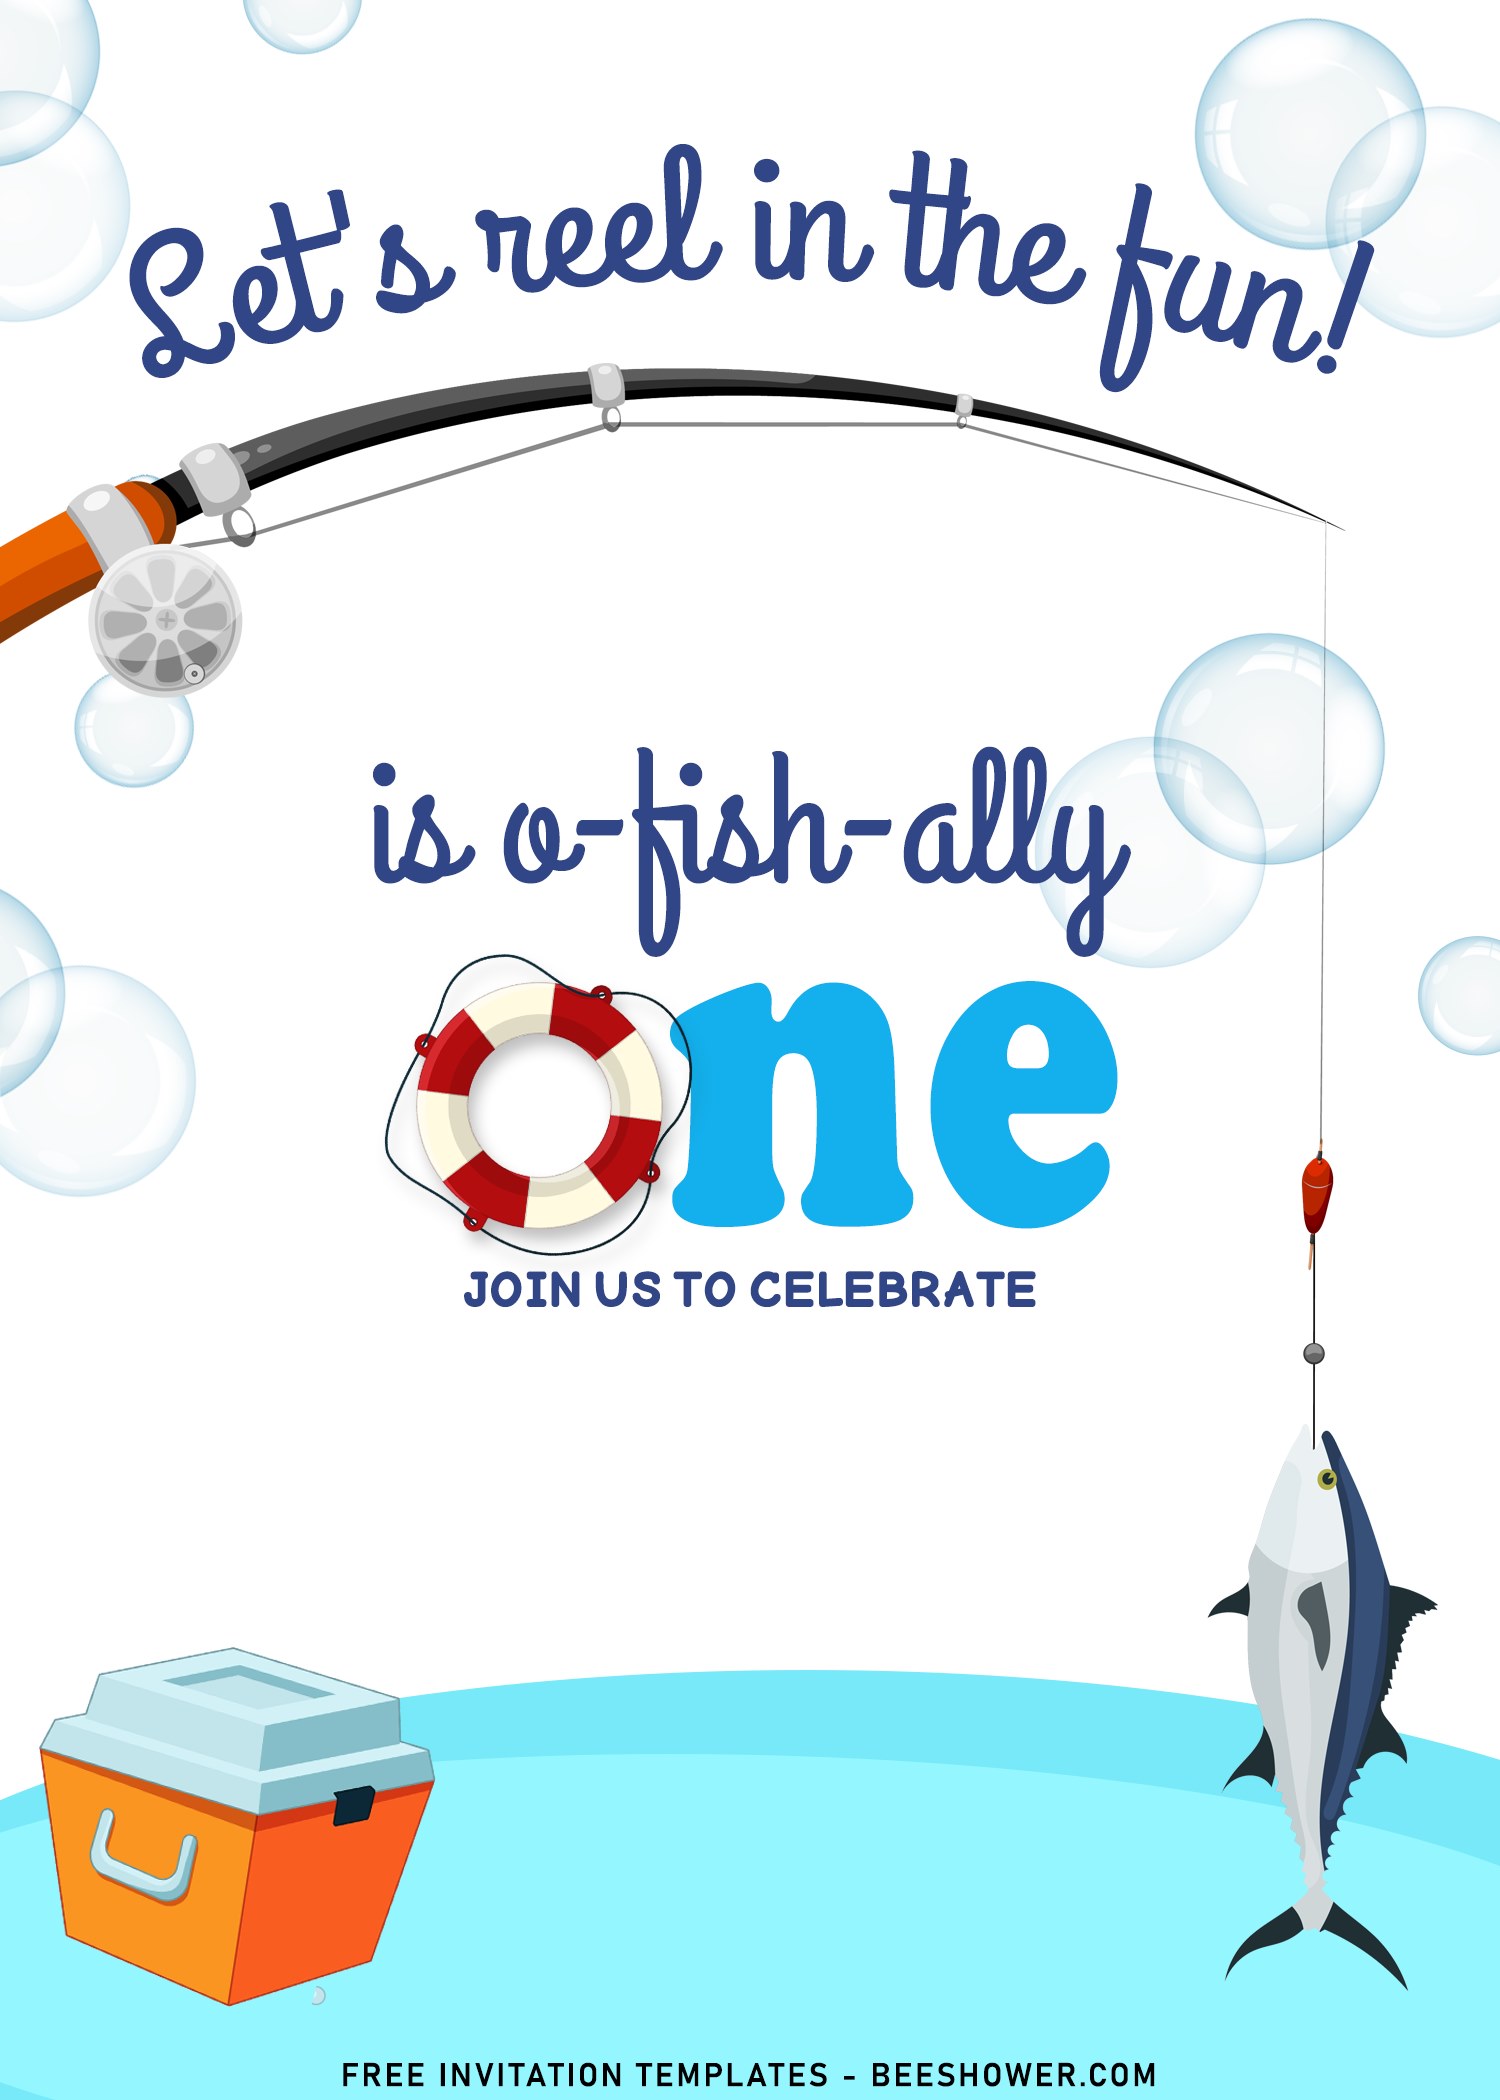
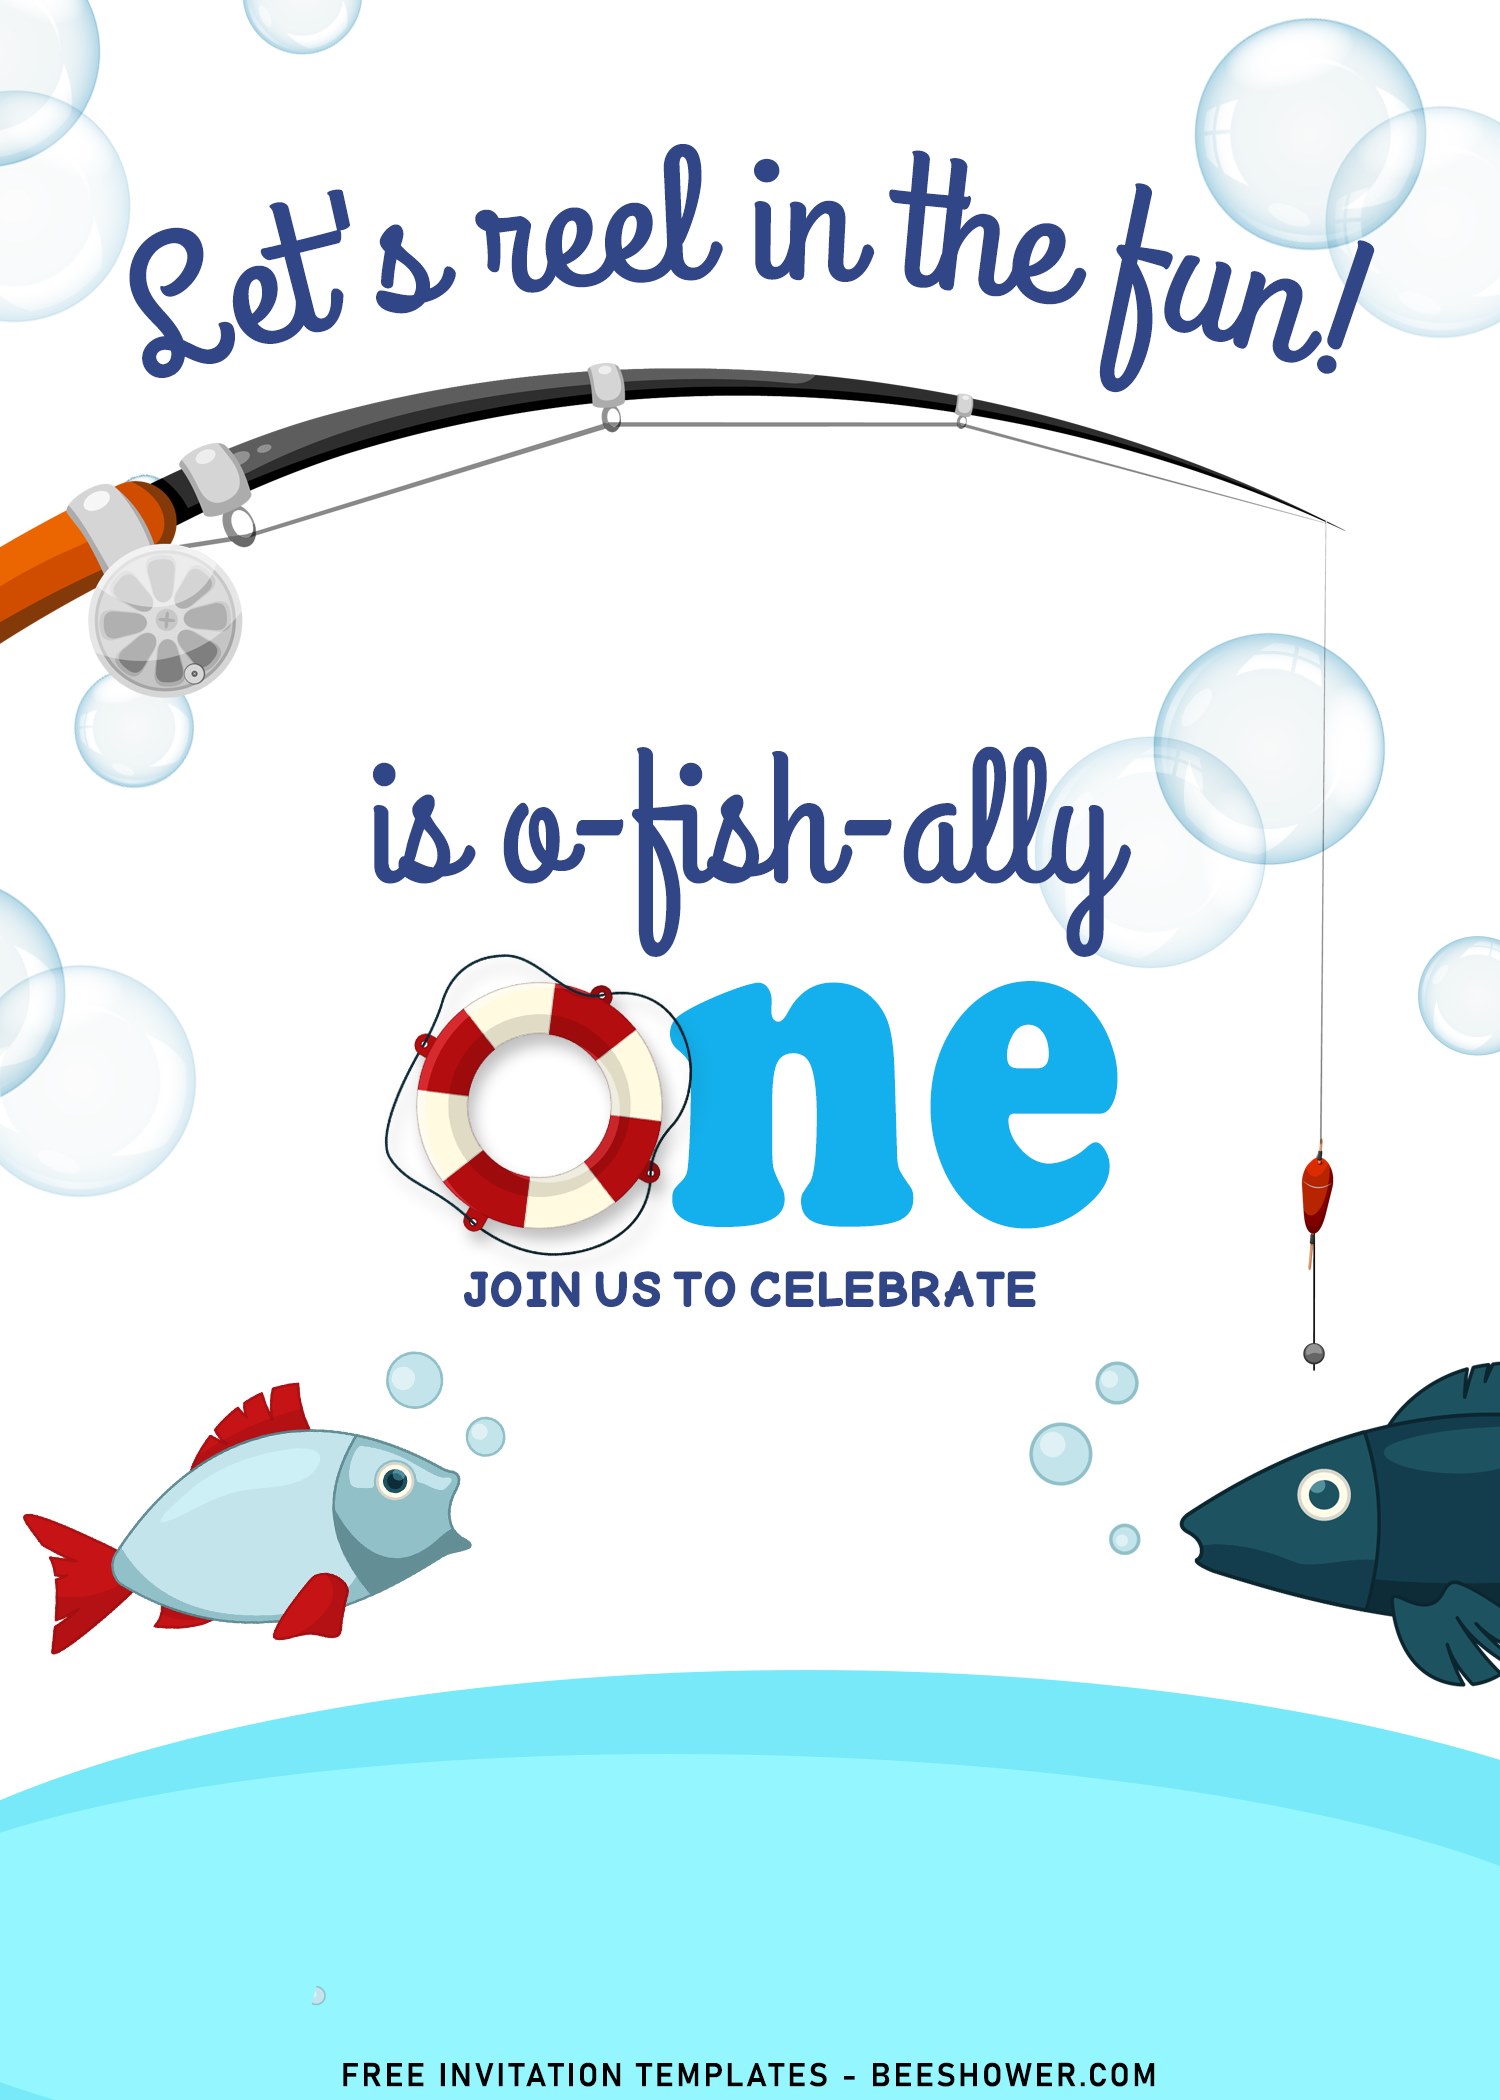
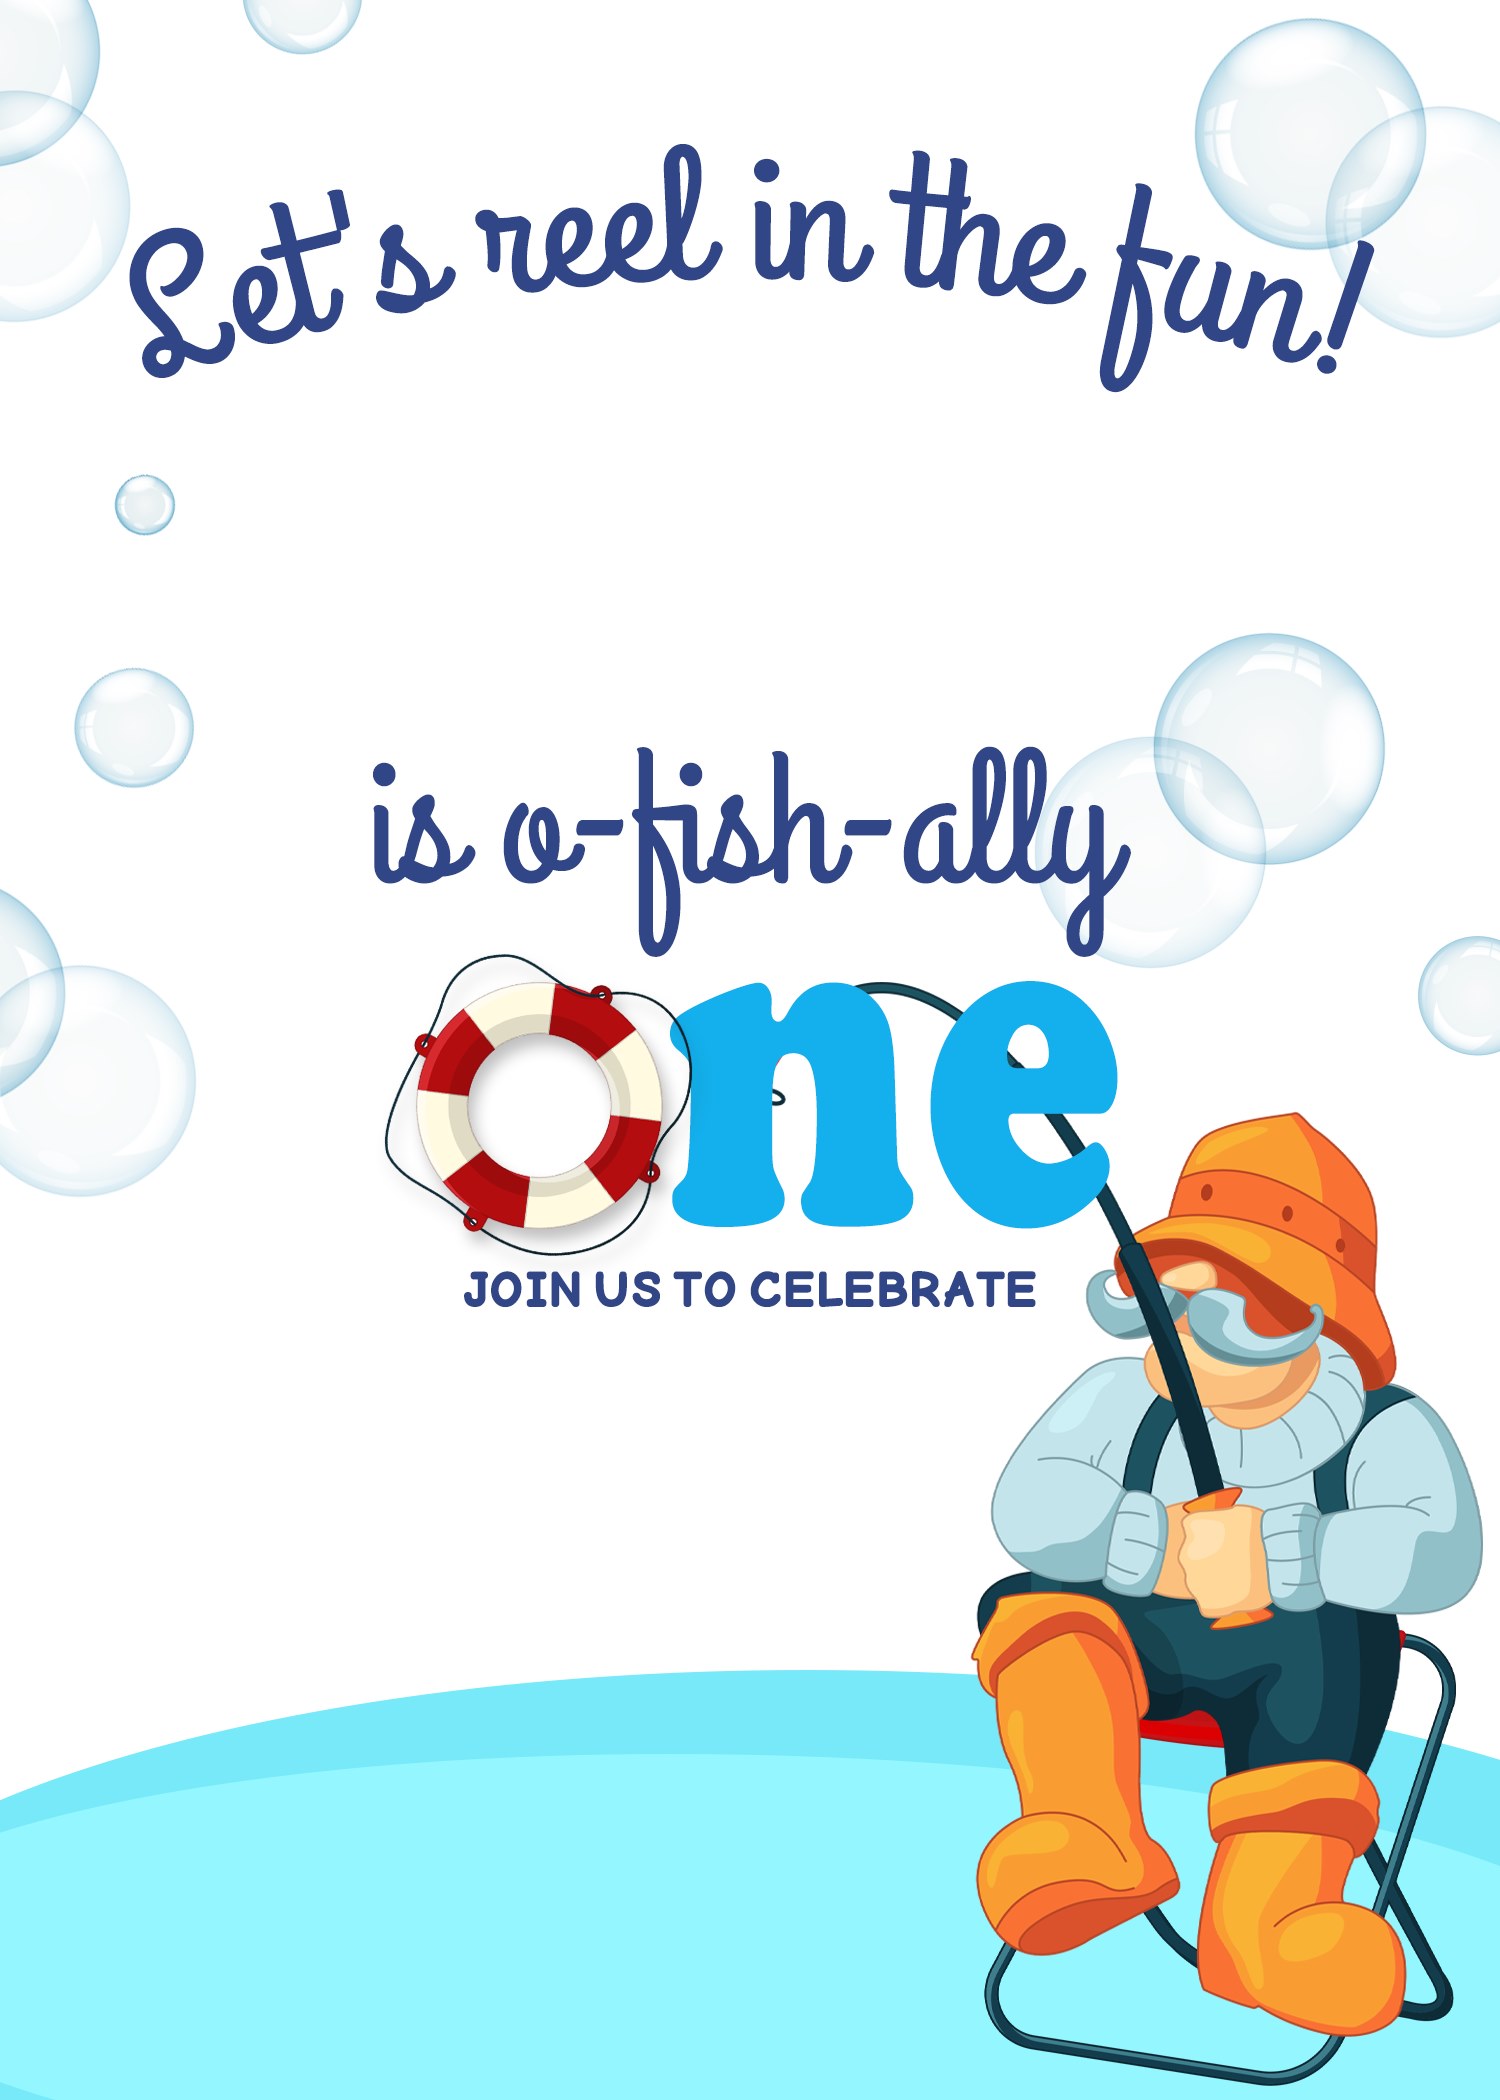
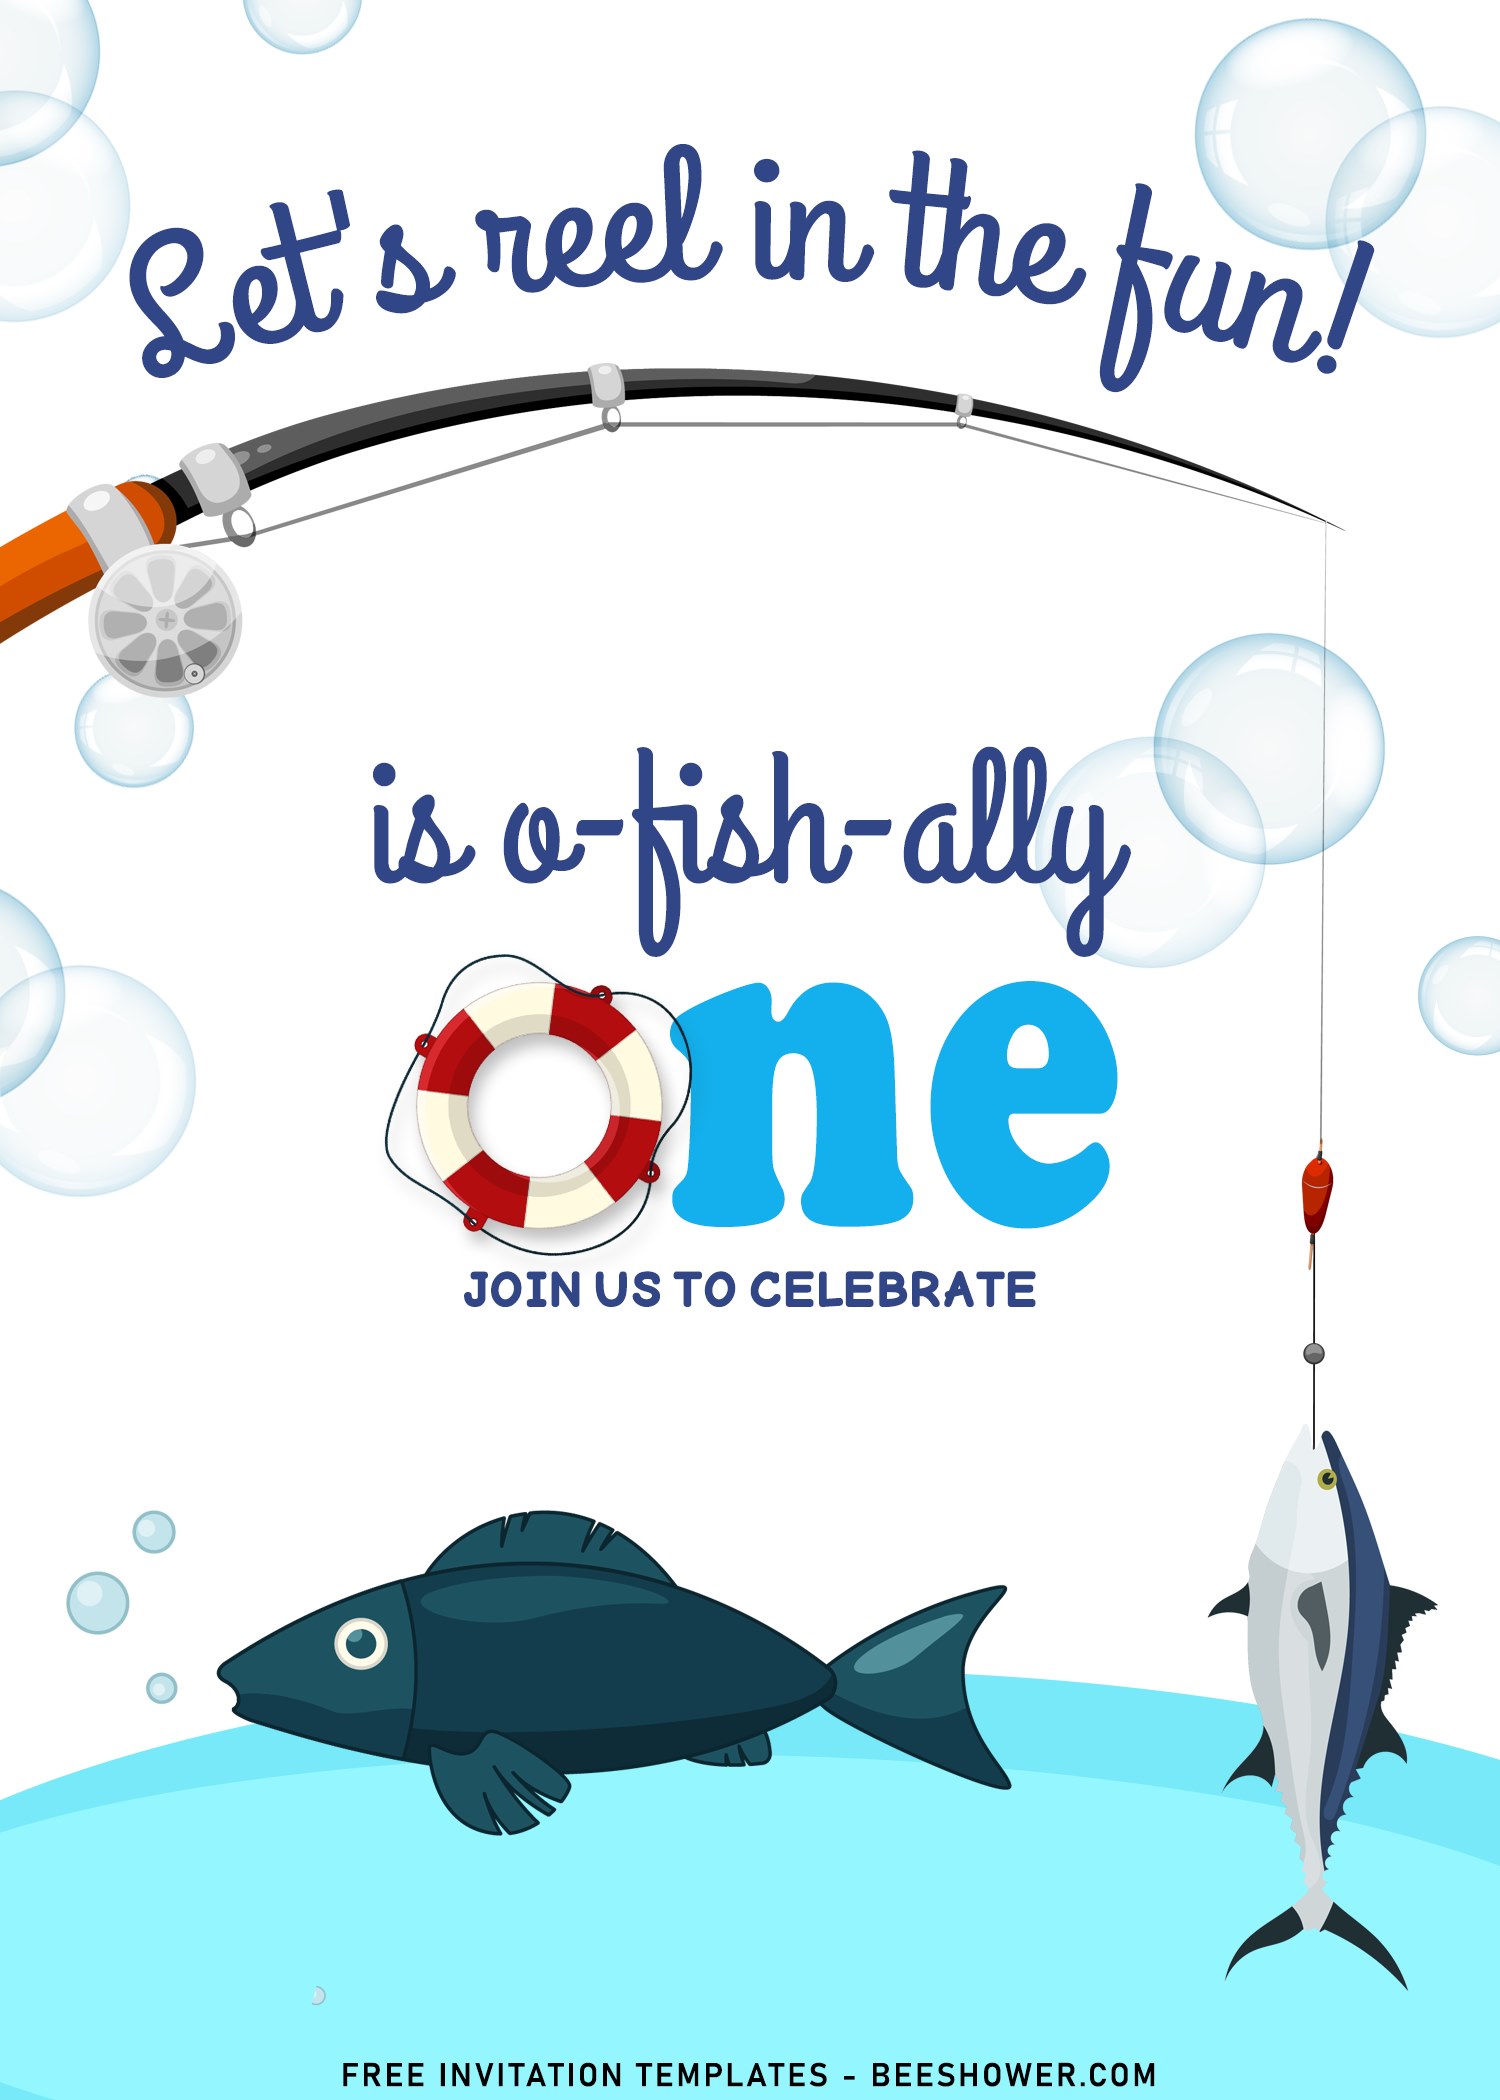


Those are the main elements that will be adorning both the layout of the card and your party information. I have written a pretty catchy wording for you and all you need to do is follow the placement of the text like what I did here.
How to Download
If you’re ready to keep it as yours, you may need these following simple instructions,
- Right-Click each one of your selection.
- Then Select “Save Image As”, locate the destination folder.
- Click “Save” or tap “Enter” to start the download process.
How to insert text
- This example is for you who are going to use Ms. Word or Photoshop (Relatively similar).
- Open Ms. Word > Insert > Picture > Select the template you just had downloaded. Then go to Insert > Text Box > Simple Text Box > Now you are able to write your text and move it anywhere around the card.
- Open Photoshop > Open > Select the template. Go to the tool menu (right on the left of your display) > Click “I” > Click where you want the text is going to be placed and now write your text.